a Photo a Day | April 7 – 13

For more “a Photo a Day” CLICK HERE.

1M2Tu 3W4Th 5Friday 6Sa7Su

Photo 1:  My 8MO session with Scarlett!

Photo 2:  With the nice weather I opened the windows in the studio… I look over to see Haley trying to get as close to said window without falling off the couch.

Photo 3:  A spread of my photography in BRAVA Magazine‘s April issue!

Photo 4:  BRAVA Magazine gifts all their freelance photographers an ad once a year.  Mine ran in the April issue!

Photo 5: Our house is a busy place with Josh hosting music lessons and me conducting my in-home photography studio.  I made this sign so I can welcome his students into the house without having to drop my work to go answer the doorbell.  I figure this will be particularly necessary when we have a dozing baby!  You wake the baby, you die! Just kidding.

Photo 6:  I also made this palette board map art this weekend.  Since we can’t paint our walls in our apartment I wanted to get the baby’s colors incorporated into our space somehow!

Photo 7:  An attempt at a prego selfie (31 weeks pregnant).  All you folks who have mastered the prego selfie, I don’t know how you do it!  I find it very troublesome standing sideways while holding the camera in a place that won’t block anything and still manage to snap the picture without dropping my phone…

Remaking Home | Music Room

Remaking Home | Blog Post 2 / 5

The “music room” as I call it, or Josh’s office, was the last room I finished.  So, naturally it is the second room I feature 😉  I figure I have to save the studio for last, it is sort of the capstone of the whole ordeal after all!

I puzzled over the music room for months.  When I started the project in October I did my first rearrange of the house which left the music room in a state of disarray.  It was the room that got everything I didn’t know what to do with.  Several rearranges and three different paint jobs later I finally came up with the set up below.

I set out to make the music room a place where Josh could do his work, play keys, play drums, and listen to records.

0001 0002 0003 0004Wall Colors…

Light Blue:  Old Pickup Blue (Benjamin Moore)

Orange:  Custom color (Sherwin Williams)

The Stuff…

Desk:  Calhoun family heirloom (Josh’s grandpa made it)

Record frames:  Urban Outfitters

Guitar:  hand-me-down from my mom

Hamper:  T. J. Maxx

Rustic wooden frames:  Hobby Lobby

Rug:  Urban Outfitters

Remaking Home blog posts to come…

  1. the studio
  2. a summary (including the kitchen and bathroom)
  3. before and after pictures

Other Remaking Home blog posts…

Remaking Home | Living Room

Remaking Home | Living Room

Remaking Home | Blog Post 1 / 5

Back in early November I was struck by an epiphany.  Up until that point Josh and I had spent a lot of time in prayer about our living situation and thinking it was getting close to time to move again.  Instead, God answered our prayers by giving me a vision for our home that included the things we were asking Him for.

Josh had been gone for a day or two when the Remaking Home idea came to me.  It all started with a vision for A Sunshine Moment Photography Studio.  Because I was committing to a studio I suddenly had to up the quality in the rest of the house.  In order for my clients to get to my studio space they were going to have to pass through our living room.  And lets say they had to tinkle, in order to get to the bathroom they would have to pass through the living room, the kitchen, and the bathroom.  Two rooms untouched right?  Wrong.  I also needed storage shelves for all my new equipment so I looked to the otherwise unusable porch space.  Finally, with one room remaining and completely disheveled at this point, we decided to convert that into Josh’s studio so he could set up his drum kit.

The Living Room was step one in the process, mostly because it was the easiest to work with.  The remake consisted of touching up one wall and repainting the other three, opening the space up, incorporating a new bookshelf, de-cluttering surfaces, dressing the walls, ditching the junk, and adding some aesthetically pleasing nicknacks for a final accenting touch.

Main points of interest…

  1. Bookshelf
  2. Wall of Us
  3. Wall Colors
  4. Wine Bottles as Vases
  5. Antique Chandelier
  6. Wooden bird cage

0001

Wall of Us: every year Josh and I get pictures taken of us right around our anniversary.

0002

I got this chandelier from my Grandma Hagberg. She has several of these in her summer home and bequeathed one to me last summer when I visited. It came to me looking pretty shabby (before and after pics later) so I cleaned it up and gave it a new paint job. I also ripped out the wiring and converted it to a candle chandelier.

00030004

Those double doors are a friends and family favorite. When we were considering moving into this lower level house apartment all doorways were open. I told our potential landlord that we loved the place but couldn’t move in unless we had doors for the bedrooms. He found the rustic set hiding in the basement and the darker set at an antique store. He was going to refinish the rustic doors but we asked him to keep them as is 🙂

000500060007

The stuff…

  • Corner shelf: gifted by Grandma Lu
  • Rug: IKEA
  • Entertainment center: gifted by Deedee
  • Bookshelf left: gifted by Grandpa Bud
  • Bookshelf right: gifted by Mom and Dad Calhoun
  • Wingback chair: IKEA
  • Loveseat: Target.com
  • Blue wall color: Seaworthy by Sherwin-Williams
  • Green wall color:  Hearts of Palm by Sherwin-Williams

Remaking Home posts to come… Music Room, A Sunshine Moment Photography Studio, A Summary (including bathroom, kitchen, and storage room), and Before & After

12 Days of Handmade and Homemade Christmas: a Summary

So I have finally finished my 12 Days of Christmas.  Granted, I finished well before Christmas but I am finally getting the last post up.  This post is a summary of the 12 days of Christmas and I have included days 11 and 12 here as well!

Lets go 12 -1 just for fun – if you say it out loud I made a rhyme 😉

Days 10 – 1 contain links to the posts if you want to see all the pictures and/or the instructions to do the project yourself.

Day 12:  Christmas Cookies

The plan was for two Christmas parties to go down so I made a load of Christmas cookies, particularly the fun cookie-cutter sugar cookie type, and then one was moved until the new year and the other I spent with two lovely friends instead of five.

I spend several hours in the kitchen with my friend Laura making up some sugar cookies.  This recipe was specifically chosen because she made me some of these delightful cookies for me as a birthday gift back in September.  Normally I am not a fan of sugar cookies because they are hard and not very flavorful but these are a different story.  There is also a method to the madness to guarantee moist, fluffy, soft, and flavorful cookies.  Tips below…

Anyway, the cookies were delightful.

3Wednesday-IMG_0690

Supplies needed:

Cookies

  • 1 1/2 cups butter, softened
  • 2 cups white sugar
  • 4 eggs
  • 1 teaspoon vanilla extract
  • 5 cups all-purpose flour
  • 2 teaspoons baking powder
  • 1 teaspoon salt

Icing

This icing dries hard and shiny.

  • 1 cup confectioners’ sugar
  • 2 tsp milk
  • 2 tsp light corn syrup (We used sugar and water.  Heat sugar and water over the stove.  You are shooting for a syrup consistency with the ratio and there’s no better way to explain it really.)
  • 1/4 tsp almond extract
  • assorted food coloring (we used food dyes, better for you)

Your steps:

  1. Make the cookie dough:  cream butter and sugar together with a mixer until smooth and creamy looking, mix in eggs and vanilla, add flour and sprinkle the baking powder and salt across the flour then mix it all in together
  2. Chill dough in covered bowl in fridge for 15 – 30 minutes (TIP:  chilling makes it easier to roll and work with)
  3. Roll out dough on a floured surface to about 1/4″ thick and cut shapes as desired (TIP:  this is the first step to successfully making a desirably moist sugar cookie so when in doubt always go thicker rather than thinner when rolling)
  4. Bake for 4 – 6 minutes at 400 degrees until the very bottom edge of the cookies are lightly golden brown (TIP:  this is how you achieve a moist cookie and though it doesn’t look like it they are thoroughly cooked)
  5. Let cool
  6. Mix the icing ingredients together in a small bowl and mix with a fork (TIP:  while mixing you should pretend you are beating eggs, you want to get all the clumps out, and when you’ve achieved the right consistency it should move like honey – simply add water until the consistency is reached)
  7. Add dye (TIP:  making more than one dye at a time and adding dye to the colors as you go makes it more fun)
  8. Ice your cookies

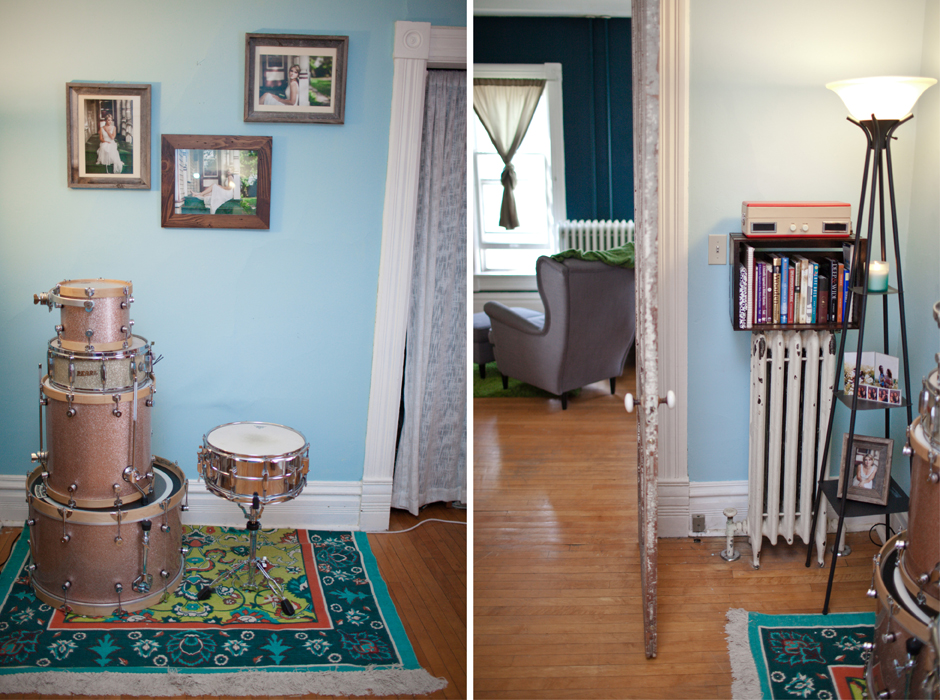
Day 11:  wine bottles make vases

My husband, a few months back, started using out consumed wine bottles around the house as vases for our fake flowers.  Then I purchased some candlesticks and found I was in need of a few more wine bottles.  And finally, the last piece in the conception of this project, my friend Megan told me about a wine bottle project she was doing.

Megan brought a couple of wine bottles to my house and some fluffy off-white yarn and some standard brown, twine colored yarn.

Now, the project itself was not Christmas-like but the idea was to add the candles to the home so because of this project I was able to utilize some plain wine bottles for burning my table candles. When I finished the yarn bottles I stuck the candle in a green wine bottle and burned my fun candlestick down until red was showing and, vuala, I had a Christmas decoration – green bottle and red wax… get it? 😉

yarn bottles
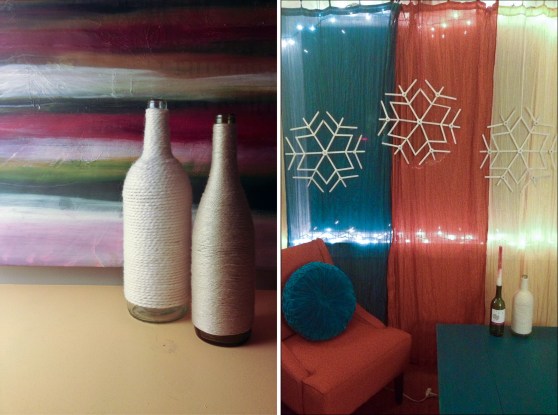
Note:  Later I did add flowers to the yarn bottles 😉  I just didn’t get a picture of them like that.

Supplies needed:

  • empty wine bottles
  • yarn
  • hot glue

Your steps:

  1. plug the hot glue gun in and have sticks at the ready
  2. wrap the yarn tightly around itself once just under the lip of the bottle and it should remain secure without hot glue
  3. wrap down the neck
  4. for the shoulders dab glue around the circumference in variation as you wrap to keep the yarn in place (TIP:  be sure to go around the bottle otherwise it will start buckling on one side and only use a teeny dot because it won’t show that way)
  5. after the shoulders feel free to sprint down the body simply wrapping
  6. when you reach the point you want to stop trim your yarn, dab the end with hot glue, and adhere it to the bottle (TIP:  tuck it under the last row of yarn for a better hide)

Day 10:  client Christmas cards

0360

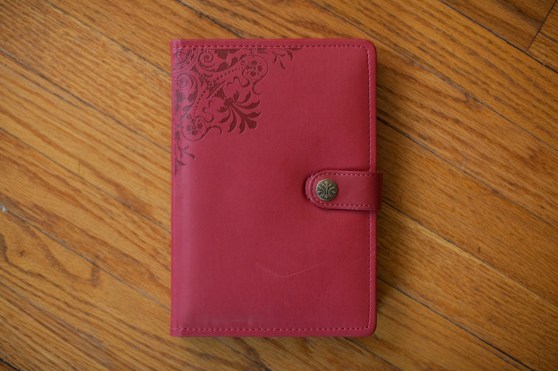
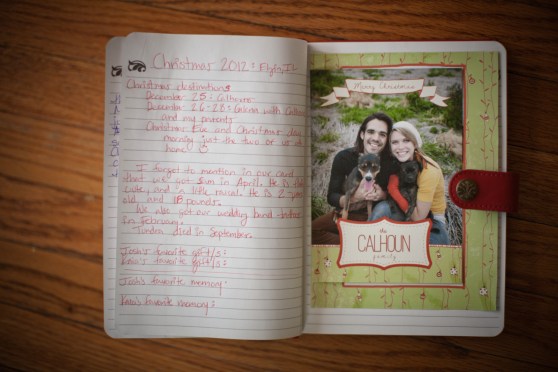
Day 9:  Christmas Book

IMG_9424

IMG_9430

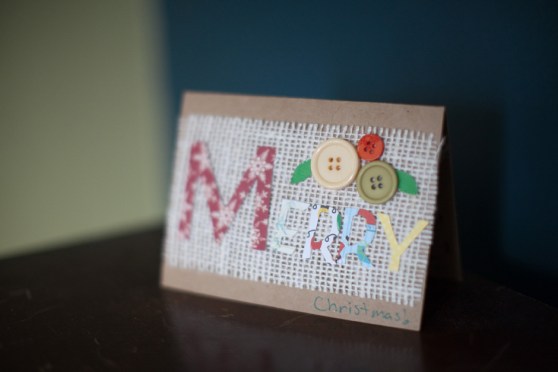
Day 8:  Christmas cards

prescott_card02FRT

Day 7:  Sharpie mugs

mugs

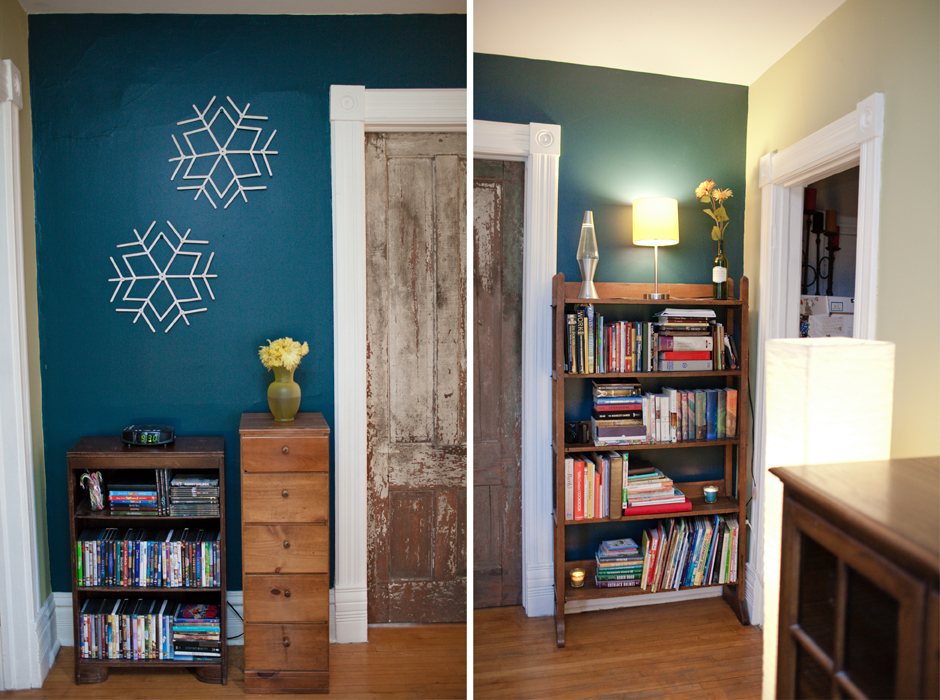
Day 6:  Snowflakes that won’t melt!

Snowflakes

Day 5:  Christmas ornament Christmas wreath

Ornament Wreath

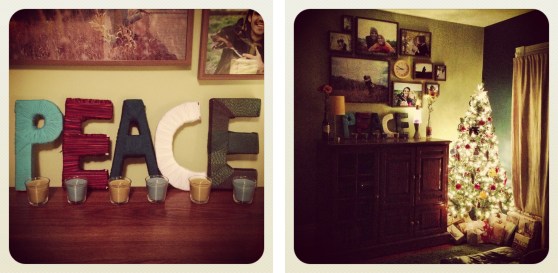
Day 4:  PEACE yarn letters

PEACE letters

Day 3:  Crayon ornaments

IMG_0599

IMG_0598

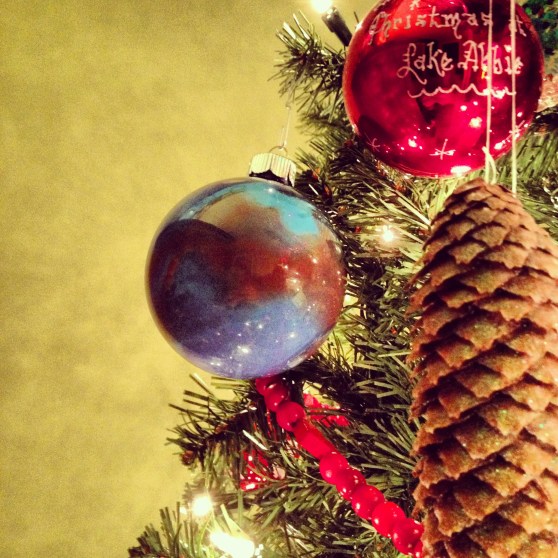
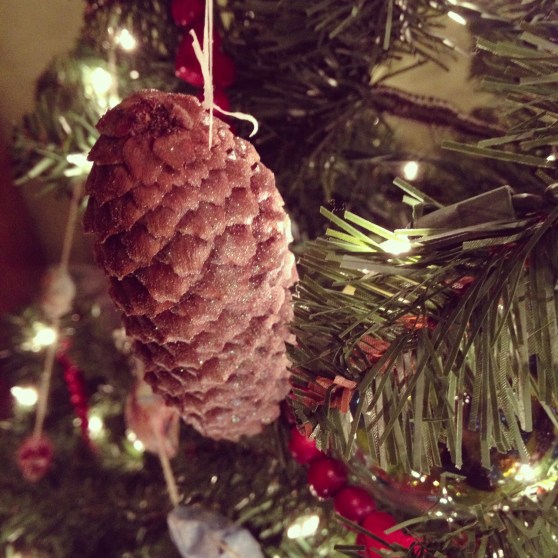
Day 2:  Pinecone ornaments

IMG_0584

Day 1:  origami star Christmas tree garland

IMG_0581

Merry merry Christmas!!!! 🙂

12 Days of Handmade and Homemade Christmas: Day 10

My 10th day of Christmas is finally finished!  This project took crazy long as well.  As, I suppose, should be expected when one commits to handmaking 50 Christmas cards.

These cards were specifically designed for my clients.  I am sending them to my 2012 clients and any client that has already signed a 2013 contract with me.

The idea started on Pinterest and I let my creative juices flow from there.  I was actually looking for Christmas wreath ideas when I saw this card and it occured to me that if I were to get a Christmas card from my photographer I would LOVE it 🙂   And so the project began.

What I liked about this project was the evolution of the ideas and design.  I dove in head first and tweaked the design as I went to spice up the routine a little bit.  As a result I came up for several variations of a similar card as you see below.  It was also super fun playing with a Cricut and I liked the potential that it might spur on some sessions from present clients because I simply LOVE working with them 🙂

0024

0017

0008

0005

0001


0360


0061

0085


0041


Supplies needed:

  • cards (color of your choice, I got mine at Hobby Lobby for 50% off and they had lots of plain cardstock options)
  • scrapbook paper (Hobby Lobby individual scrapbook paper selections, $.59/ea I think, and if I were to do it again I would choose simpler, more solid color patterns)
  • burlap ribbon (Amazon)
  • buttons (Hobby Lobby for a couple bucks)
  • stamps if you choose to incorporate those
  • sharpie markers
  • printer paper (if you are printing your message)

Your steps:
Tip:  I did everything in masses so the workflow was quickest so do each step to every card first then move to the next step. The exception to the rule is for steps 8 and 9, I focused on one card until it was finished.

  1. Apply any stamps
  2. Cut your ribbon segments
  3. Apply hot glue to the four corners of your ribbon and paste on your card
  4. Cut all your letters (I borrowed a Cricut from a friend for speedy working)
  5. Hot glue all the letters in place
  6. Hot glue your message into the card OR write your message
  7. Cut your paper leaves and snowflakes
  8. Hot glue paper leaves and snowflakes
  9. Hot glue buttons
  10. Stamp envelopes
  11. Address and apply postage stamps to envelopes
  12. Stuff cards into envelopes
  13. Seal envelopes