Remaking Home | Blog Post 5 / 5
Today I give you the last of my Remaking Home Blog Posts! This post serves as a summary of the whole project from start to finish, including before pictures 🙂 I will guide you through the project in the order I finished the rooms – ironically, the last room to be finished was the first room I started so I figure by rate of finishing is a better gauge.
First, the premise of the whole project. This Remaking Home overhall idea was born last fall. Josh and I had spent significant amounts of time praying about a new place to live fitting in certain specific criteria. When we moved into this home we asked the Lord for a personal relationship with our landlord, office spaces for both Josh and I, and a place that allowed dogs. We still needed all those criteria fulfilled but we now were additionally seeking a place where I could grow a garden and open a studio. Instead of answering our prayers with a new home, He brought me a vision of how to make the studio happen in our current home and gave me the guts to ask our landlord about our garden. Several months later the Remaking Home project is finished, I held my first session here in December, threw my a Sunshine Moment Photography Studio GRAND OPENING, and have planted my garden.
In order to open a studio in our apartment I knew the whole home needed a serious makeover. I knew my clients would be walking through my living room to get to the studio and they would walk through the living room, kitchen, and bathroom if they needed relief. That left one room for our bedroom but instead of using that space for our bed we decided to give Josh a music room. We were excited about our artist’s bungalow and resolved to sleep on our hide-a-bed indefinitely. I am happy to say, this arrangement not one works but our hide-a-bed is actually more cozy than some normal beds and I have been thriving in my studio space! God is so good! Thank goodness for his brilliant idea 🙂
ROOM 1 | Kitchen
The kitchen was done first because this room didn’t need any repainting and I needed to move the furniture around anyway. This was our most initially successful room. When we first moved in I chose this subdued red color for two of the walls to blend the cabinets and the counter tops into the space better. With a trip to IKEA, Josh and I decided kitchen ware as “wall art” would be a nice touch so we proceeded to buy the prospective equipment and hung our pots, pans, and baked goods in the corner by the oven.
All I did to touch up this room was ditch a table, bring in a smaller one, and resituate the knick knacks. (INTERIOR DESIGN TIP: don’t underestimate knick knacks – use them for accent colors and presentation and the key is quality, not quantity.)
For the full blog post on Remaking Home in the kitchen CLICK HERE.
BEFORE
Not a true before picture because I had already moved the yellow and brown tables from their original spot but the knick knacks are different. Sorry for my forgetfulness in the BEFORE picture department 🙂

AFTER


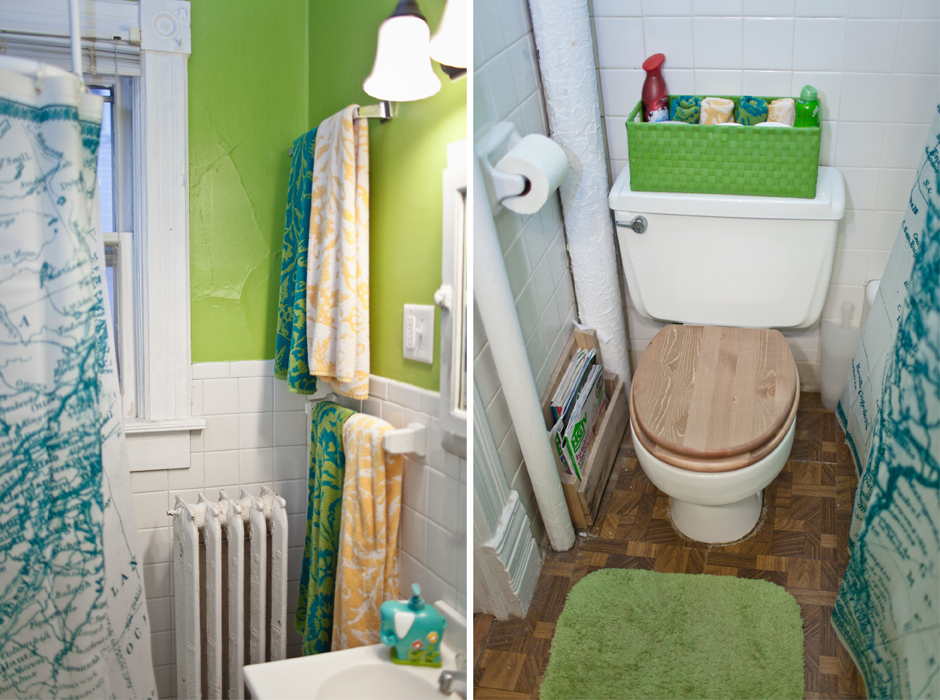
ROOM 2 | Bathroom
The bathroom was another easy fix room – mostly because it’s such a small space to work with. For this room I switched out all the linens, added a shelf, switched out the toilet seat, and painted two walls.
For the full blog post on Remaking Home in the bathroom CLICK HERE.
Sorry, I don’t have a BEFORE shot of this room…
AFTER

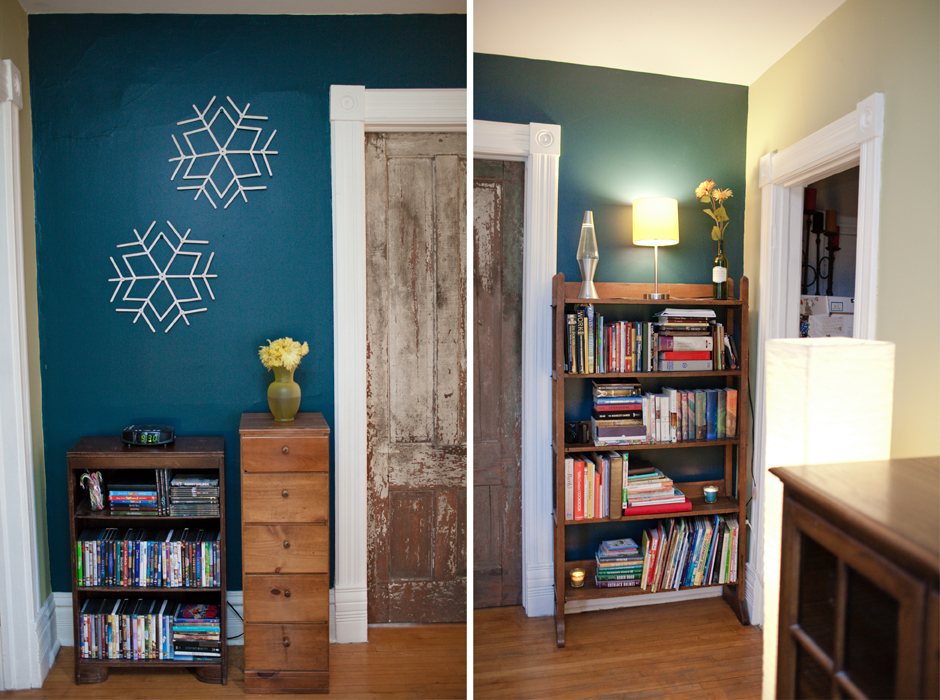
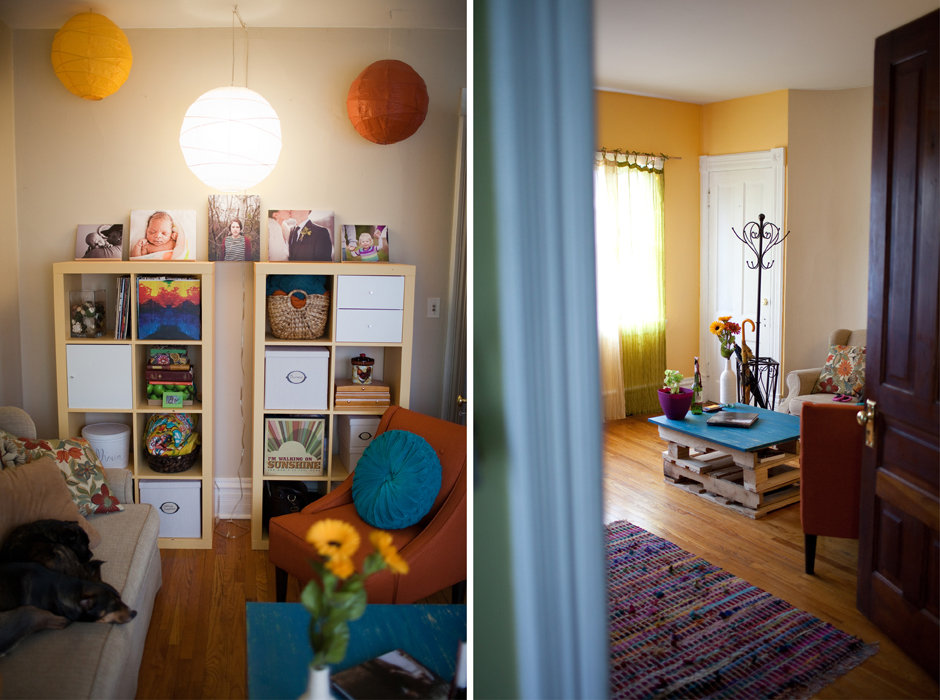
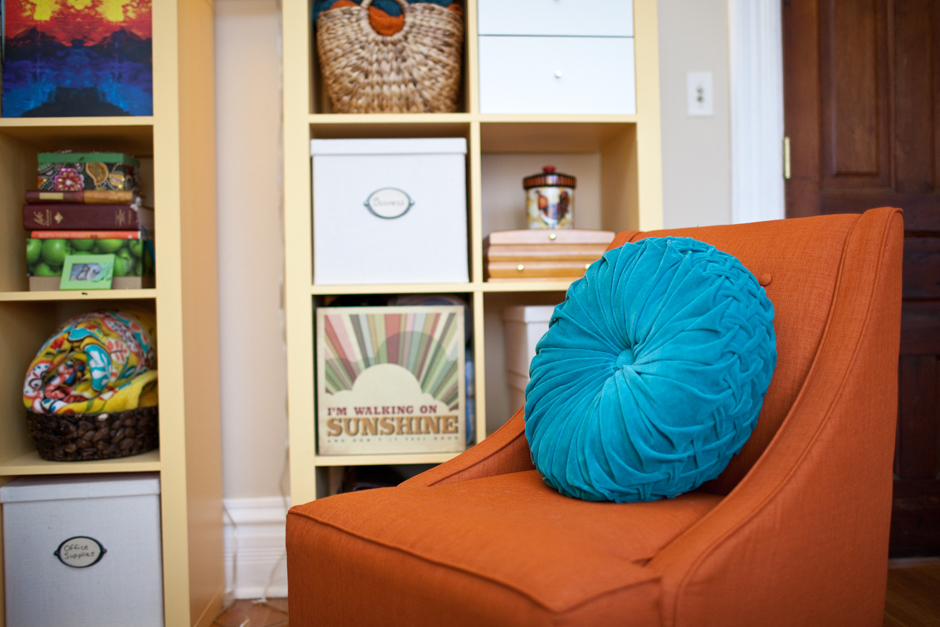
 ROOM 3 | Living Room
The living room was my next easiest fix. Like the kitchen, Josh and I were mildly successful in painting the first time around and the general position of most furniture. However, it did need some serious adjustments. In this room I switched out the upholstered furniture in favor of some new items, painted the remaining tan walls, built a collage of images of Josh and I as a visual centerpiece, adopted a rustic shelf from Mom and Dad Calhoun, rearranged our media and knick knacks, refurbished and hung a chandelier, reworked the lighting, changed the hardware on the entertainment center, and changed our shoe department.
To see the full blog post on Remaking Home in the living room CLICK HERE.
BEFORE


 AFTER
AFTER


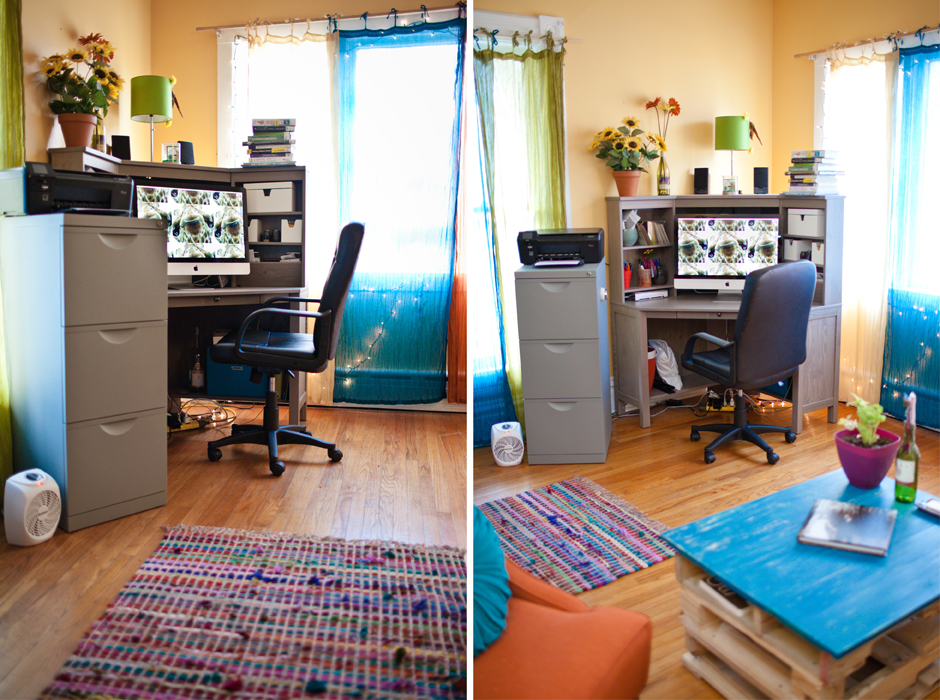
 ROOM 4 | Studio
This room needed the most work. I needed it to serve as my office, the place where we sleep, a place to hold meetings, and a place to conduct various photo shoots. That’s a lot of activity to fit in one space while trying to uphold an open and beautiful space.
Everything about this room is different and new. Not a speck of original furniture remains. With a lot of repainting, repurposing, and a little bit or purchasing I finally came up with the perfect convertible room.
CLICK HERE to see the full blog post with images from each room arrangement and function.
BEFORE
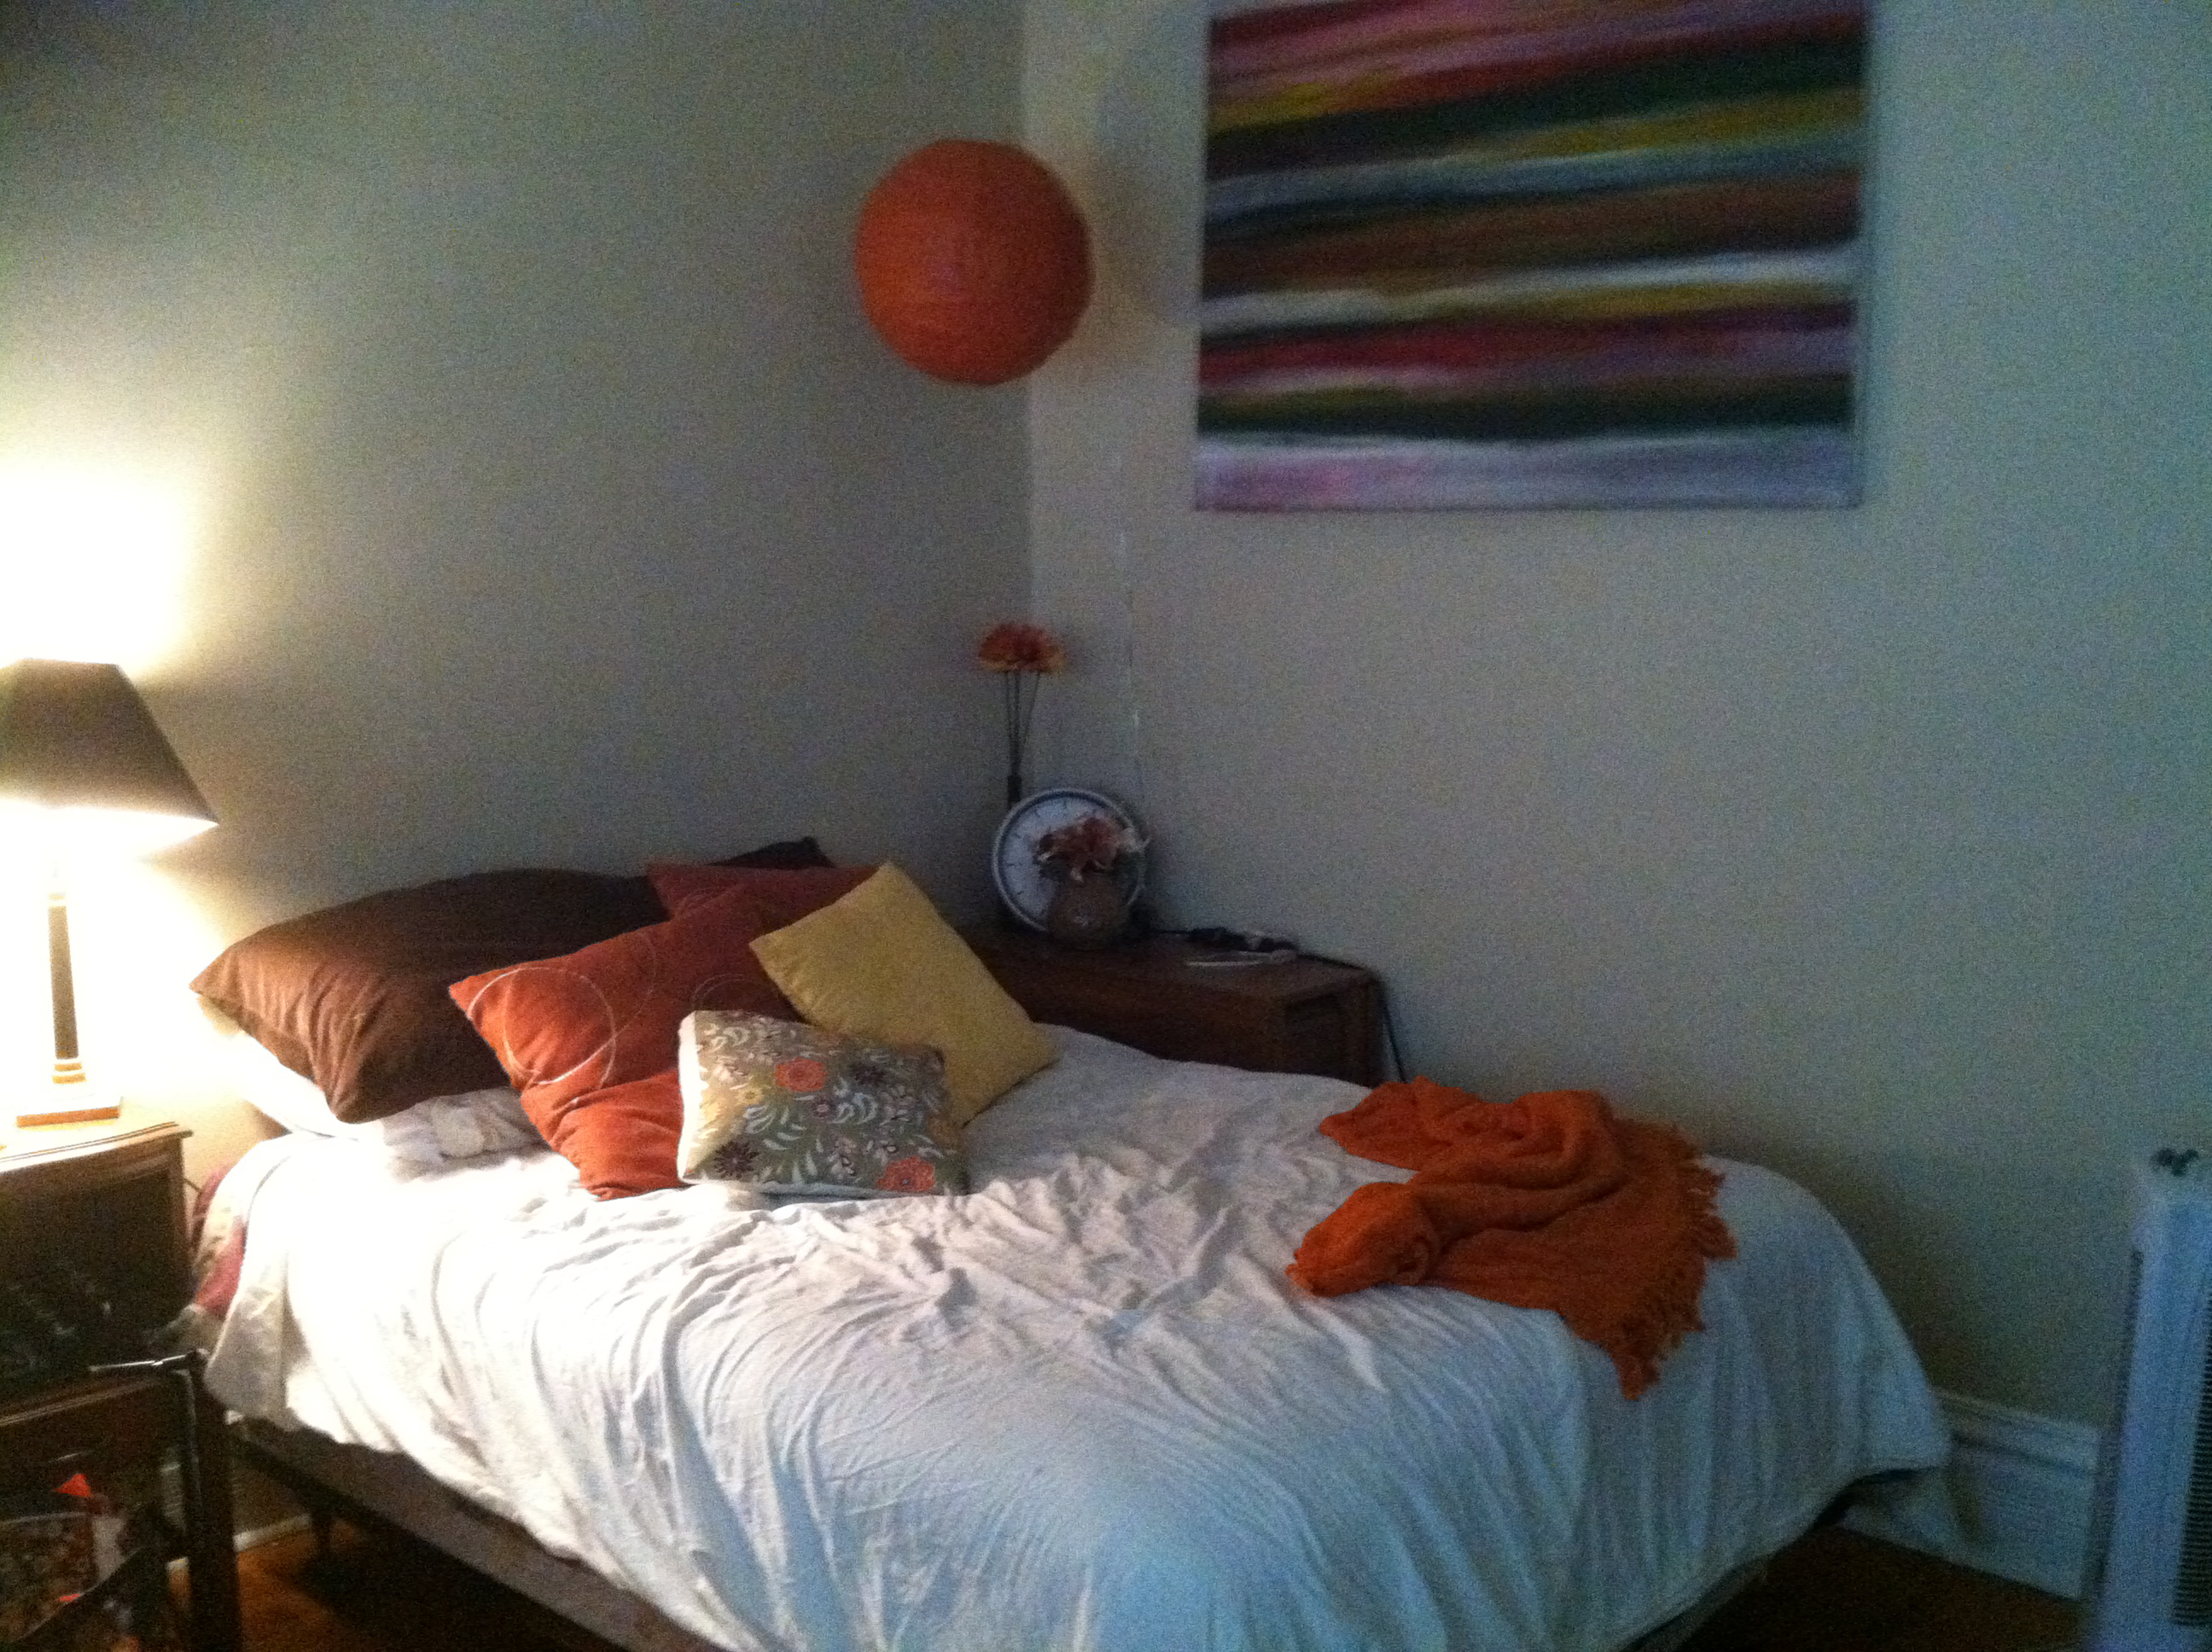 KIND OF BEFORE…

 AFTER
AFTER


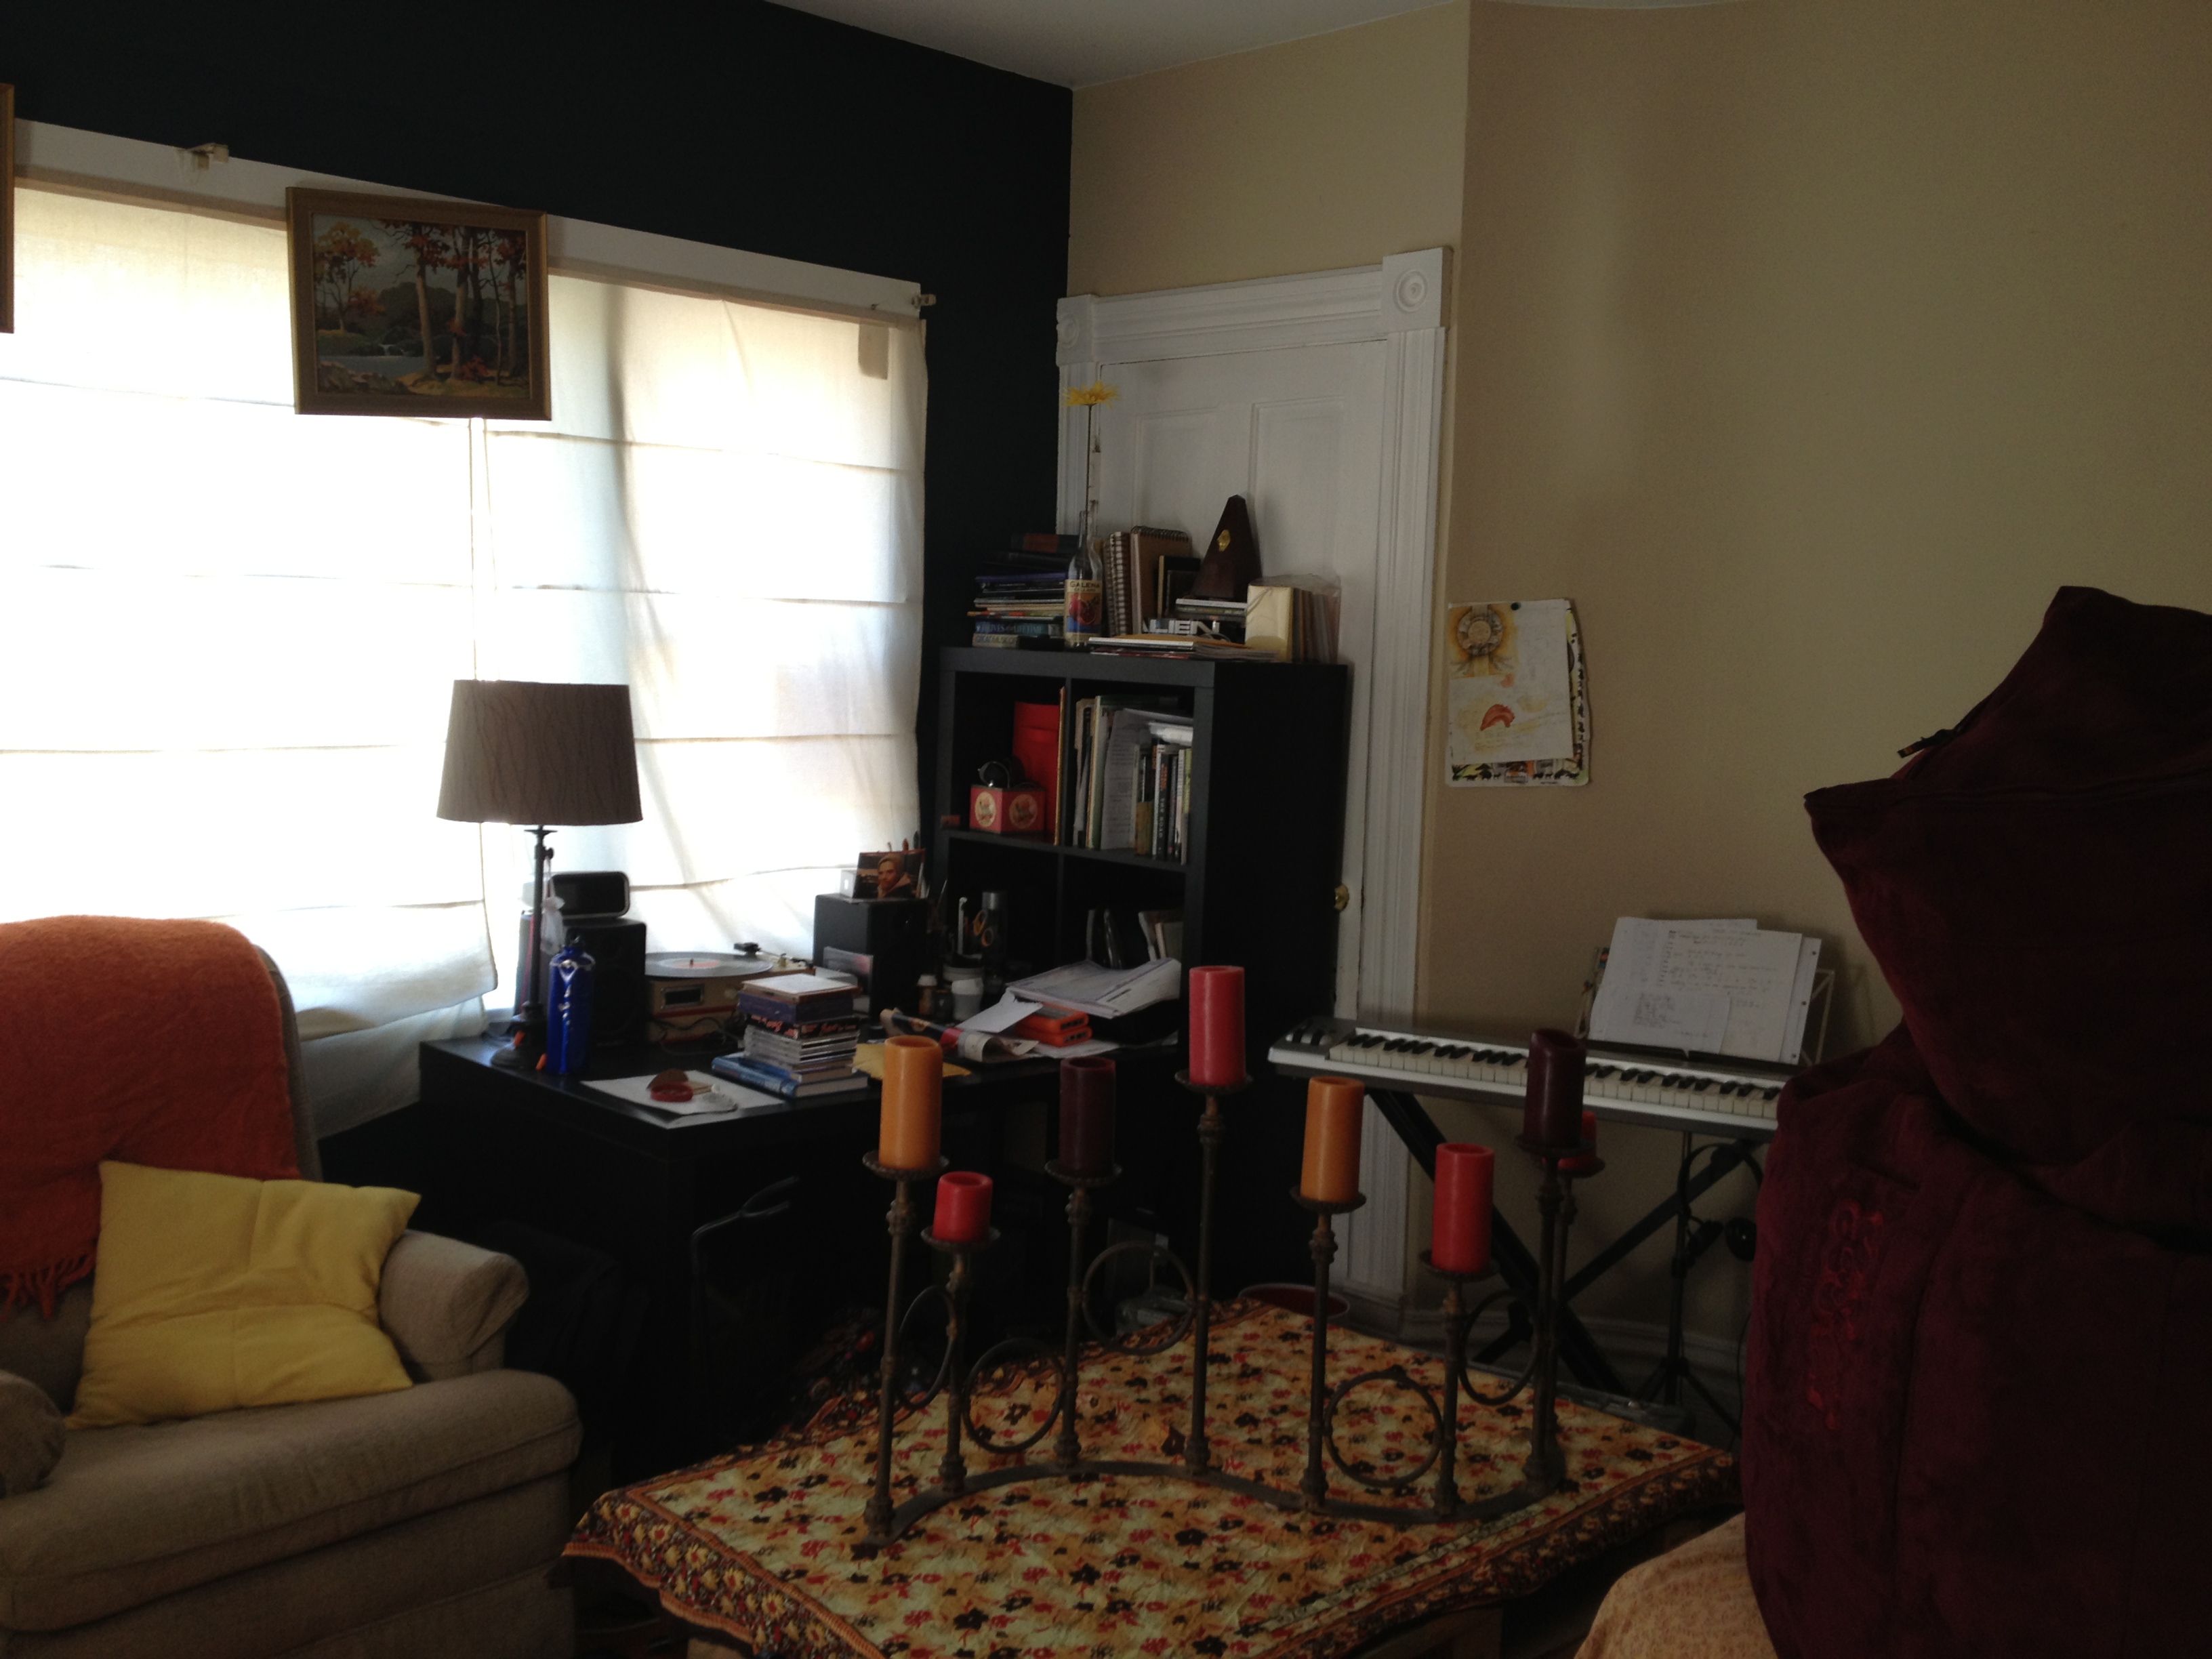
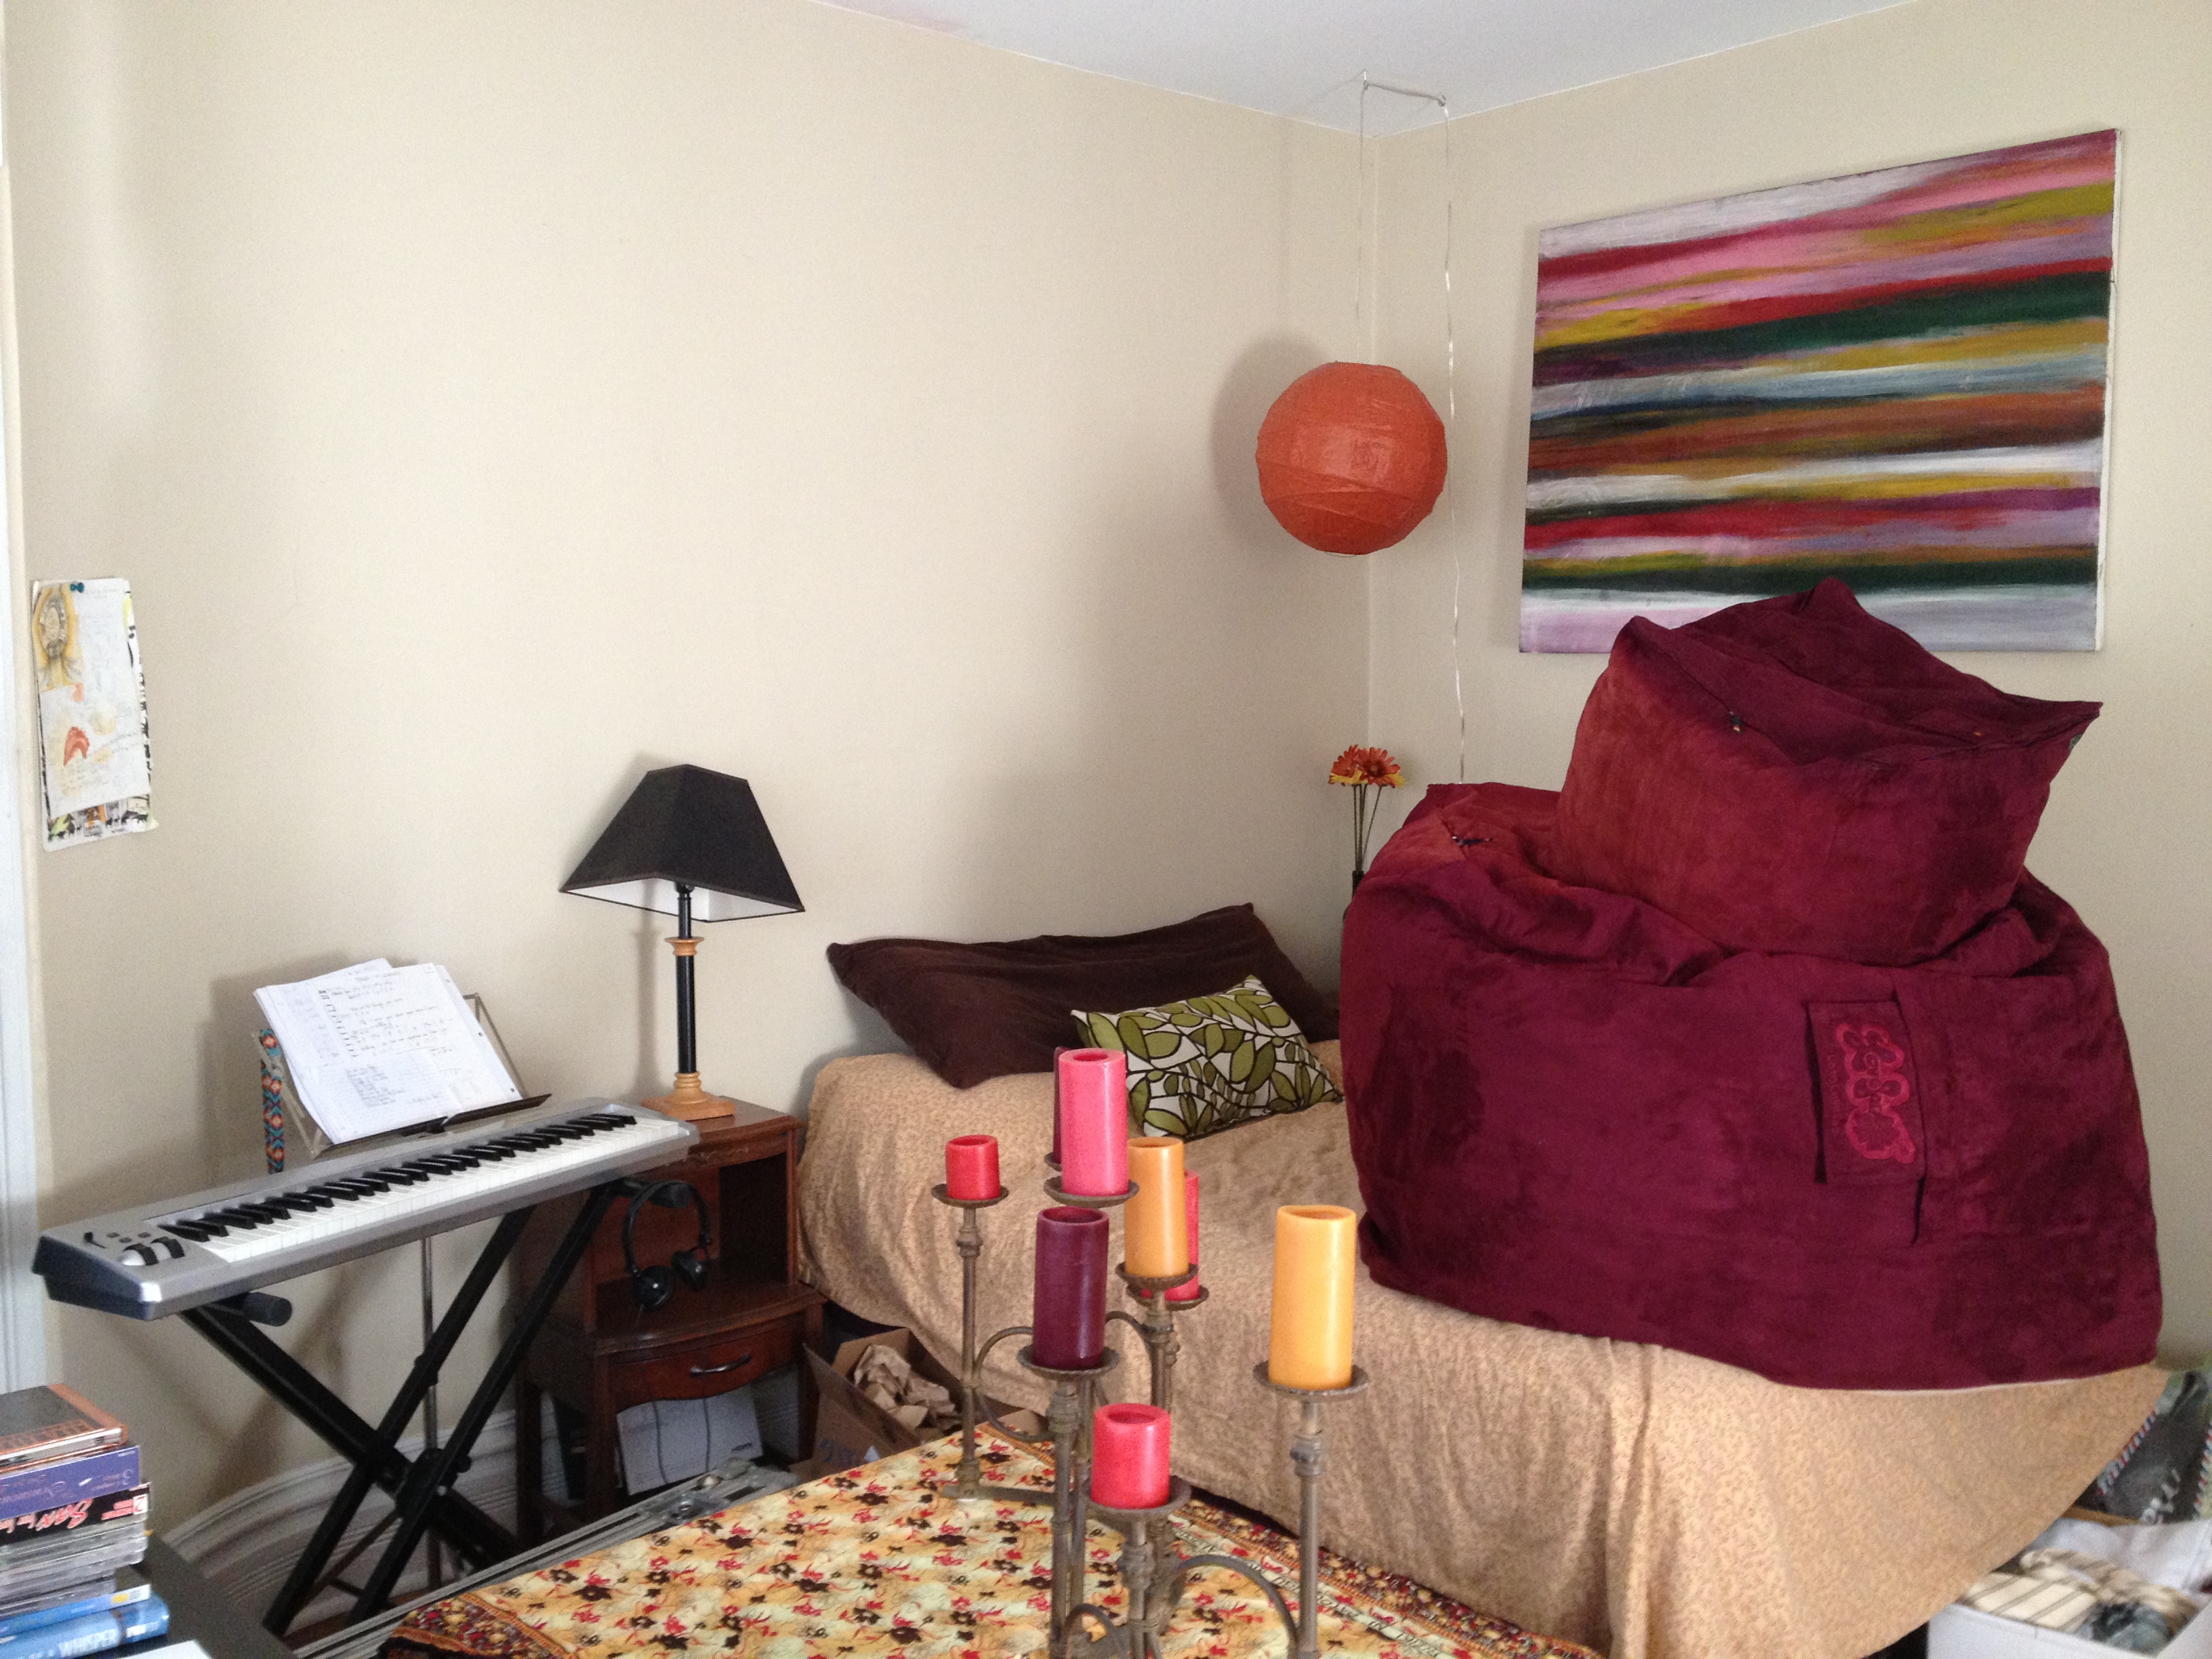
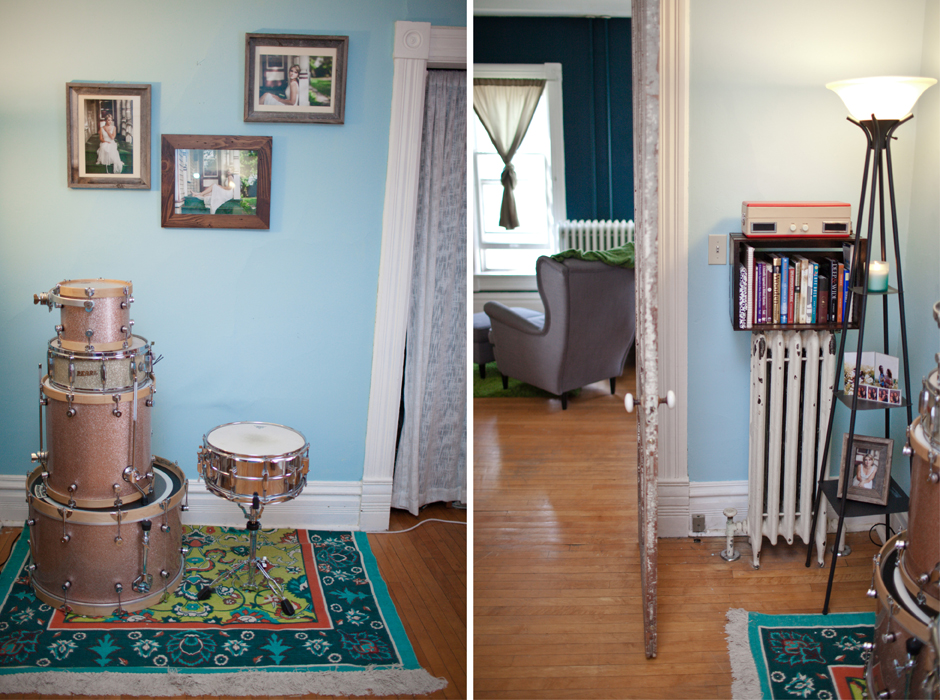
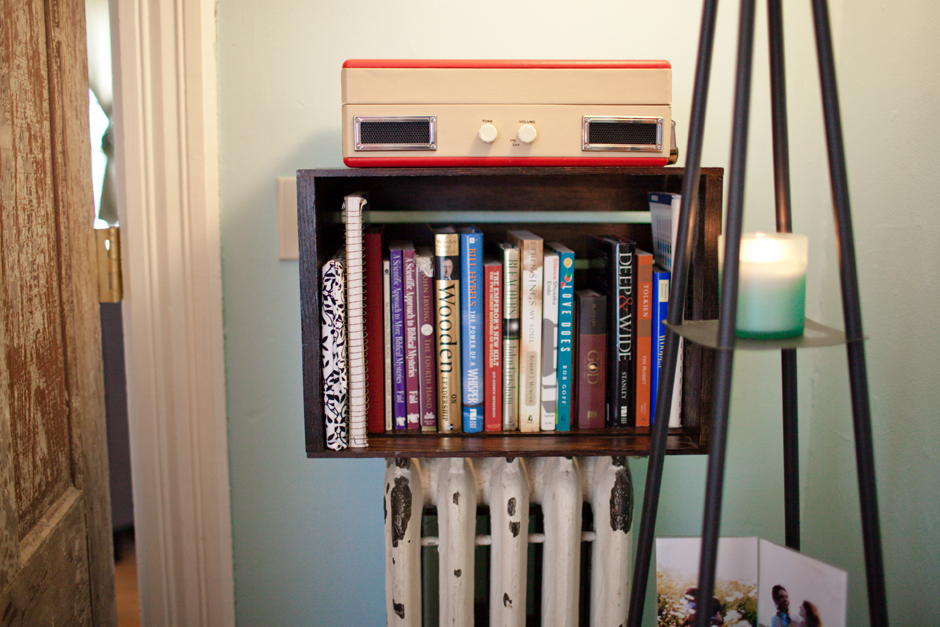
 ROOM 6 | Music Room
This room didn’t actually need a lot of work, but it posed the biggest creative black hole for me. I puzzled over this room in circles. I would come up with the perfect idea and then that perfect idea would be over taken by another perfect idea and so on. Finally, with the push to finish the room before the a Sunshine Moment Photography Studio GRAND OPENING party I moved my last item and painted the last wall only two days before the open house. This room stretched me because it was everything I didn’t know. My job was to create a space that would serve as Josh’s office while be the ideal space for practicing drums, keys, and guitar. Since the room doesn’t have a lot of available wall space due to the radiator, double doors, window, and closet spaces I was left to puzzle through all the pieces I needed to artistically display within the space.
For the full blog post on Remaking Home in the music room CLICK HERE.
BEFORE


My desk used to be wedged into the corner of this room. This shot was taken after I had already moved my computer.
AFTER


 Thanks for reading about my Remaking Home adventure and I hope it was educational, inspirational, or both 😉
To see all of my Remaking Home blog posts CLICK HERE.