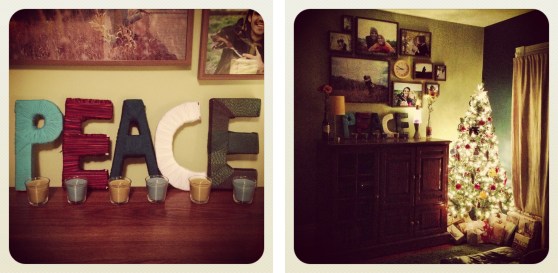
Day 4: PEACE Letters
Again, I stumbled on this idea through Pinterest. The project looked simple and it would be free for me since I already had all of the supplies. I wasn’t sold on the idea though until the message at church inspired my word choice. Bill Hybels spoke of how the Christmas season is the most joyous and sacred season of the year, yet the majority of the time it becomes the most stressful and busy because of all the demands. So, he inspired me to not only make a conscious effort to intentionally carve out extra peace in my life to really soak in the gift of Christmas but to assert the commitment to do so with a visual reminder. What I loved about this project was the tediousness of it. It took me a solid 6 – 8 hours to complete but it didn’t involve a lot of brain power so I got to sit and create in the quiet, with Christmas music, or with a movie.
Supplies needed:
- yarn of your choice
- scissors
- tape
- cardboard
Your steps:
- cut out your cardboard letters
- cut out cardboard segments to line straight sides and small segments to support curves (this is how you get the block letter effect)
- tape the block letters together
- tape the beginning of your yarn to the very end of one of your letters
- start wrapping – I found I was most successful when I wrapped fairly tight, but not so tight that the cardboard started giving way to the pressure
- you will run into hurdles with each letter and really the only way to work it out is personal trial and error because it’s different for every letter (curves and corners are difficult)
- at the end of your wrapping simply tuck the end of your strand into an appropriate place and admire your work 😉
- repeat steps 5 – 7 for each block letter you created
DAY 5: Christmas Wreath
The wreath is how this whole 12 Days of Handmade and Homemade Christmas idea came about. Josh and I have never had a wreath so I decided I wanted to find one I liked. In the end I resolved to make one because I’m so picky 😉 Since I had been contemplating doing something with a 12 Days of Christmas theme the handmade wreath idea gave me the idea to add Christmas spirit to our home and lives with 12 unique projects. I must say, of the projects so far this is one is at the top of my list. My wreath consists of a great variety of ornaments. My original idea was to create it solely out of my crayons ornaments but six ornaments in and a couple hours later I realized it would take me 10 times longer if I didn’t reevaluate. I managed to create a dozen crayons ornaments for the wreath and then I hit Hobby Lobby for a plethora of medium and small sized ornaments of various colors and sheens. What I love about this creation are the “bubble” ornaments, the “snowball” ornaments, my crayon creations, the party of colors, and the fact that since I didn’t stick to just red and green I can leave it up all winter!

Supplies needed:
- lots of ornaments – I recommend a variety of sheens and colors for a dynamic presentation but you definitely need about 100 or so, depending on the size of your wreath, and you will need 2 – 3 different sizes to fill it out properly (Hobby Lobby has 50% off all ornaments starting in December until they run out of them)
- pipe insulation tubing – I used one 3′ tube and I wouldn’t go smaller but if you wanted bigger you could use two of them and cut it to size from there or you might be able to find one extra long one and trim that to size (Menards 4 pack of 3′ tubes for 1/2″ pipes from the plumbing section for $.97)
- hot glue gun (Hobby Lobby for a couple bucks)
- hot glue sticks – about one per box of ornaments, I probably used around 8 total (Hobby Lobby for a couple bucks)
- masking or duct tape
- ribbon of your choice (I got Jute Burlap Ribbon from Hobby Lobby)
Your steps:
- for my 3′ tube I simply plucked it out of the bag, looped it around, and taped the ends together with a few rounds of masking tape
- take out the ornament hanging pieces
- leave your wreath laying flat on your worktable in the same position for the duration of your creating
- start with your biggest bulbs and work your way to the smallest ones
- start with the inside and outside of the wreath and work your way in to the top/center
- apply glue to the surface of the circumference of the bulb opening and stick on your tubing
- for the smaller bulbs that act as fillers they won’t touch the tubing so the application of the hot glue will be at the points of contact with the other bulbs
- as soon as your surface is sufficiently covered string your ribbon through the maze or ornaments and hang in your desired location
NOTE: I know it seems scary to be trusting hot glue to secure everything but it’s so strong that if you try to pull any off that aren’t just attached to the tubing you will shatter them at the pressure of your hand before the glue gives way – yes I did this once and only once 😉 So, knowing that, you should only remove bulbs that are attached to the tubing only, and even then do so sparingly because you will be taking chucks of tubing out every time – I also only did this once.
DAY 6: Snowflakes that won’t melt!
Since I was a kid I have always been fascinated by the natural world around me so, naturally, snowflakes have always given me joy because of the never-ending flow of unique patterns that flit down the winter sky. So, when I stumbled on these popsicle snowflakes on Pinterest I was immediately sold. I did find that the example I was following turned out cluttered and less than satisfying so I got creative and attempted to create a few varieties and patterns of my own until I settled on this.
What I love about this project is, again, the tediousness of it. I loved how it became pretty mindless after sorting out the first one so I could enjoy the quiet, some Christmas music, or a movie while I was working. I also love that I can keep them up all winter since they are not Christmas specific 🙂

Supplies needed:
- 36 popsicle sticks/snowflake (again, Hobby Lobby for a pack of 100 for a couple bucks)
- wooden buttons – the image I followed used circular wooden wafers but I love buttons (big and small wooden buttons from Hobby lobby)
- hot glue gun
- hot glue sticks
- white matte spray paint (one big can sufficiently covered my 6 snowflakes but I went for a little more of a rustic look so if you want something more sleek I would go for a glossy white and get two cans to really douse them in white)
Your steps:
NOTE: attach each popsicle stick with a dot of glue unless otherwise noted and use the biggest buttons for the middles of the snowflakes and the smallest for the outside
- start with the center and work your way out
- line up the center six sticks so they are evenly spaced – you can check the spacing with on of the popsicle sticks, its the perfect length
- swiftly add a dot of glue to the center point of each stick and place your button or wafer – if you’re too slow the hot glue will be too cool
- to attach the next length to the center piece you will use the interior star pattern to connect them – the less overlapping the better
- so, lay out six new popsicle sticks to double the length of the center piece
- spread glue across the very tip of a new popsicle stick and attach it to the two touching, extended popsicle sticks so that the hot glue is adhering to both of them
- repeat step 6 until all the lengths are attached
- go back around with new popsicle sticks to complete the zigzagging pattern – three layers total in this spot (base of two touching but not overlapping sticks, stick 1, stick 2)
- at the halfway point of the outermost popsicle stick place a new popsicle stick
- at the same point, on top of the previously adhered stick, place another facing the opposite way
- at the same point place the button – four layers total in this spot (base, stick 1, stick 2, button)
- repeat 9 – 11 until finished
- spray paint entire piece to taste
Because explaining the procedure of this particular project is so hard/confusing I took some picture of the assembly process for your viewing pleasure.

Steps 1 – 5

Steps 6 – 12
Coming up next…
December 18… 12 Days of Handmade and Homemade Christmas: Days 6 – 9
December 21… Days of Handmade and Homemade Christmas: Days 9 – 12
December 28… 12 Days of Handmade and Homemade Christmas: a summary
Why so late? Why after Christmas? Because a couple of the days are gifts and I can’t give away the SURPRISE! 😉


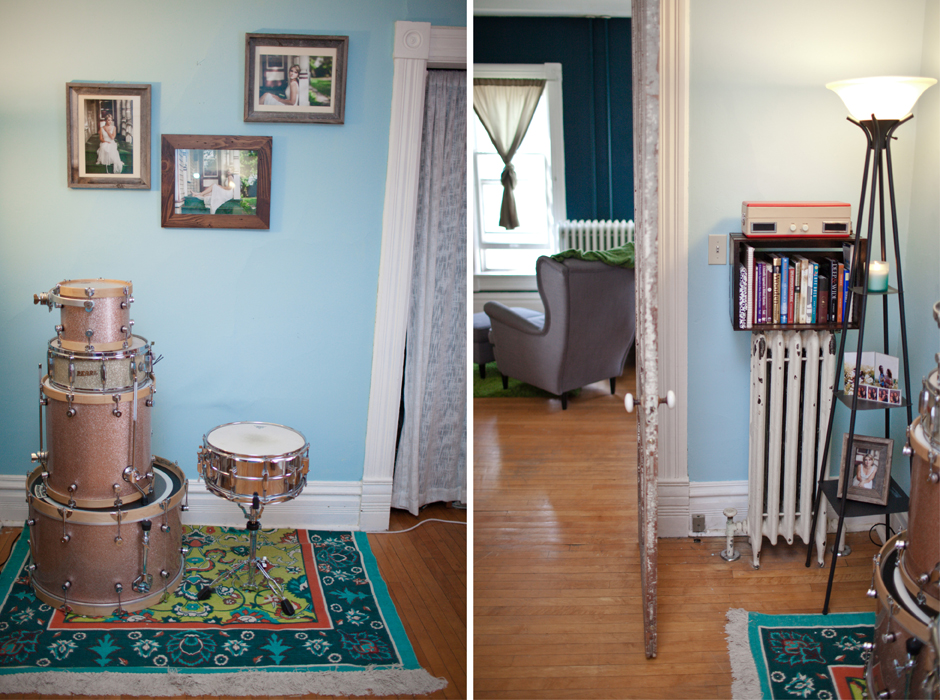
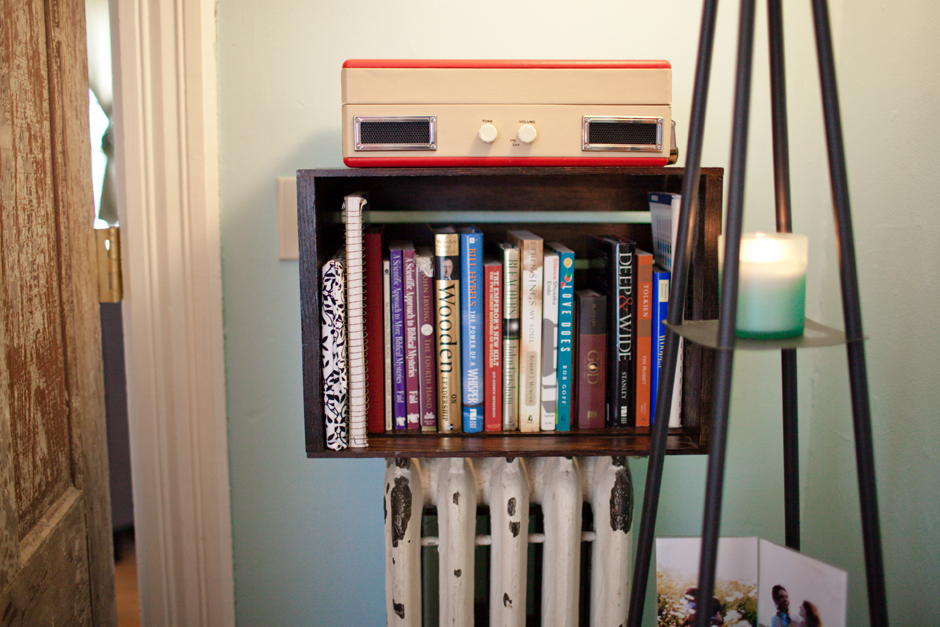 Wall Colors…