Remaking Home | Blog Post 4 / 5
Back in November of 2011 I started working for Houzz as an Ideabook Photographer. Then, in December of 2011, I started working at Sherwin Williams as their Design Product Specialist. Lastly, in mid January Josh and I moved into a new apartment where I was granted permission to paint the walls. My very first walls to paint!
My spark of a love for interior design was quickly provoked into a steadfast fire because of my new involvement with interior design. All of a sudden it was a huge part of my life – making its way in as a profession, into my photography, and into my personal space. I started finding myself standing around my house dreaming up new ways to make it look better all the time. However, professional interior design requires capital and I couldn’t justify laying down the cash to upgrade and rework until God nudged me to open an in-home studio space.
a Sunshine Moment Photography Studio
This room was the reason behind my redesign.
As I mentioned in previous Remaking Home posts. Opening an in-home studio space required upping the quality of most of the rest of my house. I was aware that my clients walk through my living room to get to the studio and they would walk through my living room and kitchen if they had to use the bathroom. This meant I had to at least work on my living room, kitchen, and bathroom. Well me creating a studio involved kicking Josh out of his office and moving his stuff into storage. A couple of days later, on a coffee date, we were talking about my new project and the forlorn look on his face in regards to not having personal space gave me an idea. The idea: forget having a bedroom, we are artists and our art is our priority. So the bedroom transformed into the Music Room, Josh’s office became my studio, and now we sleep on a hide-a-bed.
My first step in the studio was a repainting overhaul. I knew I wanted yellow because it is my favorite color and my business name is a Sunshine Moment. I mean, come on, it had to be yellow!
I painted it once. It looked like I had spread Velveeta macaroni and cheese sauce all over my walls. So I painted again. The second color choice was one I actually brought home back in June and was a color my friends Aaron and Lynette used in their kitchen that I love. On this rare occasion the transplant of a color looked beautiful. My walls are a warm yellow color that fools me into thinking every day is at least partly sunny. That is good for my soul.
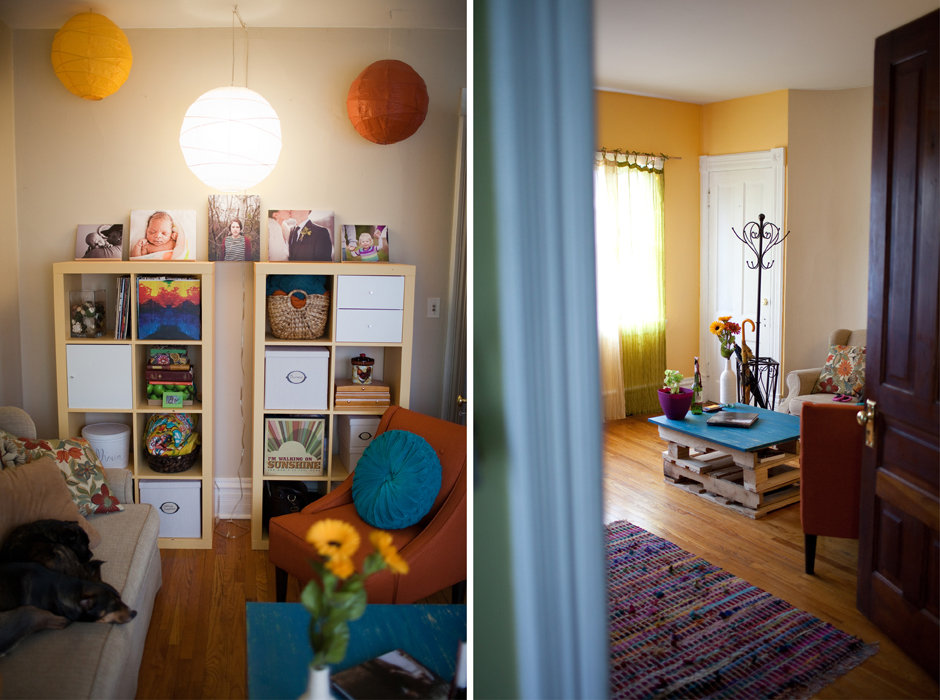
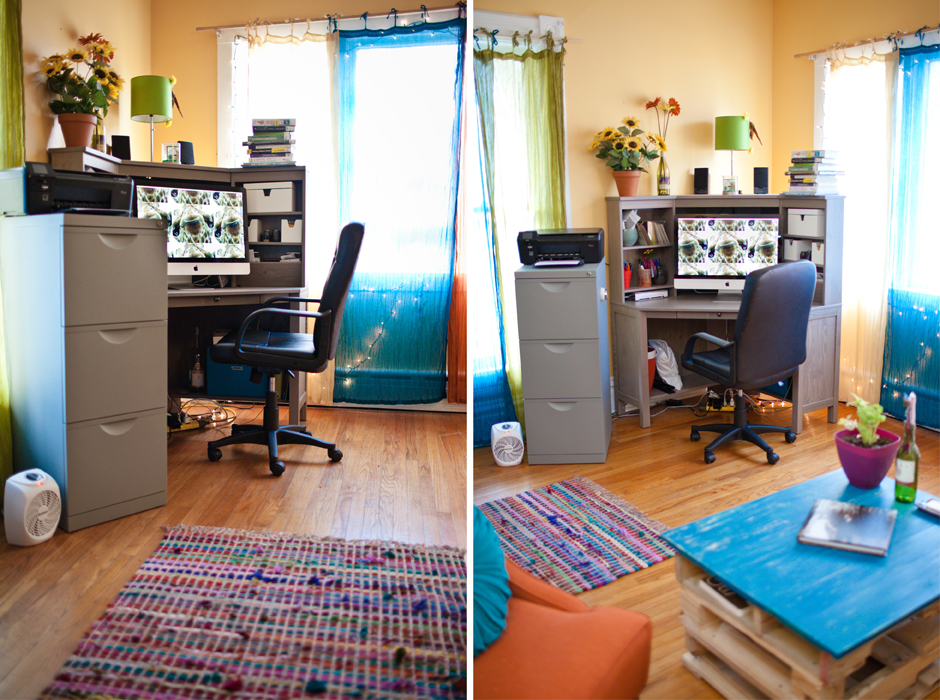
My next step was finding a desk. The desks Josh and I had before were no longer satisfactory due to the new nature of interior design perfectionist. So, we disassembled the “desk” portion and I painted the shelves the same yellow as my studio walls and stuck them in my studio.
I knew I wanted a corner desk with shelves and at least one drawer – shelves for easy access to the supplies I use daily and a drawer to hide my keyboard and mouse when I’m not using them. I also knew I wanted something made of real wood that was not too dark but not too light. Lastly, I wanted a desk that a rolly desk chair would push in all the way when not in use and that would fit my legs comfortably even if I sat cross-legged (because that’s how I sit at least half the time). I was picky because I knew what I wanted after having many a desk before. Finally I made a trip to IKEA and rolled chairs over to desks so I could sit and get a feel for them. After scouring the web and hefty personal debate I decided I would spring for the Hemnes Corner Workstation. It’s awesome.
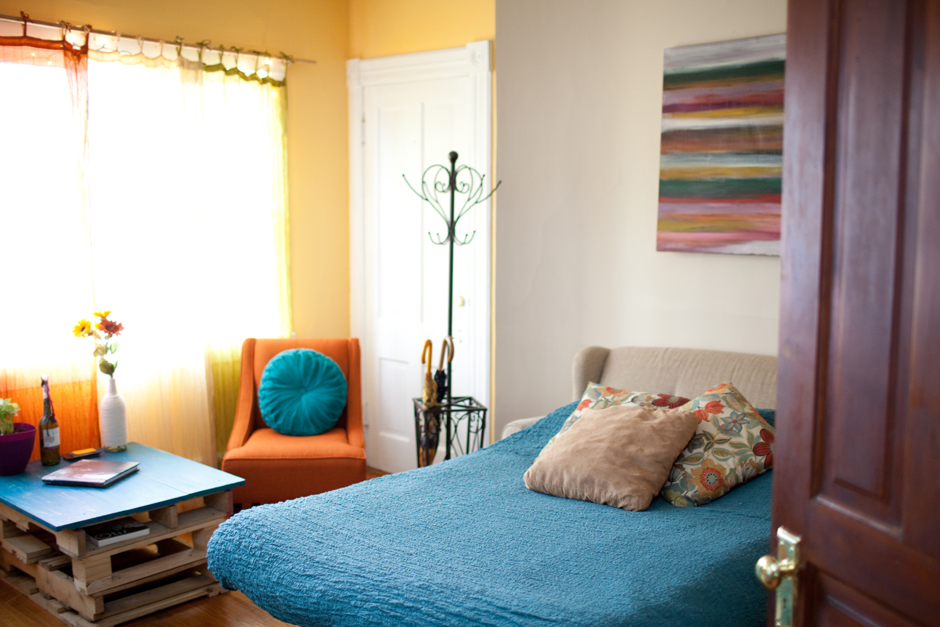
My next step was furniture. I agonized over this detail and feng shuied every room every other week until I finally settled on the arrangement below. With a the little addition of a coat rack for my clients to hang their coats and purses and a rug to break up the floor space I was finally satisfied.
When I was finished fussing with the furniture I could work out lighting. This room doesn’t have an overhead light, though it doesn’t matter anyway because Josh and I light our world with lamps. The first lamp was easy because I obviously would need some form of light at my desk for working in the darkness. Over Christmas I was inspired to hang lights around my big front window because there are no outside outlets. I like it so much I’m keeping it up, they are just white lights after all. And finally, I worked on the lanterns. I already had hanging lanterns in this room so I simply moved those and bought one more for a little extra fun.
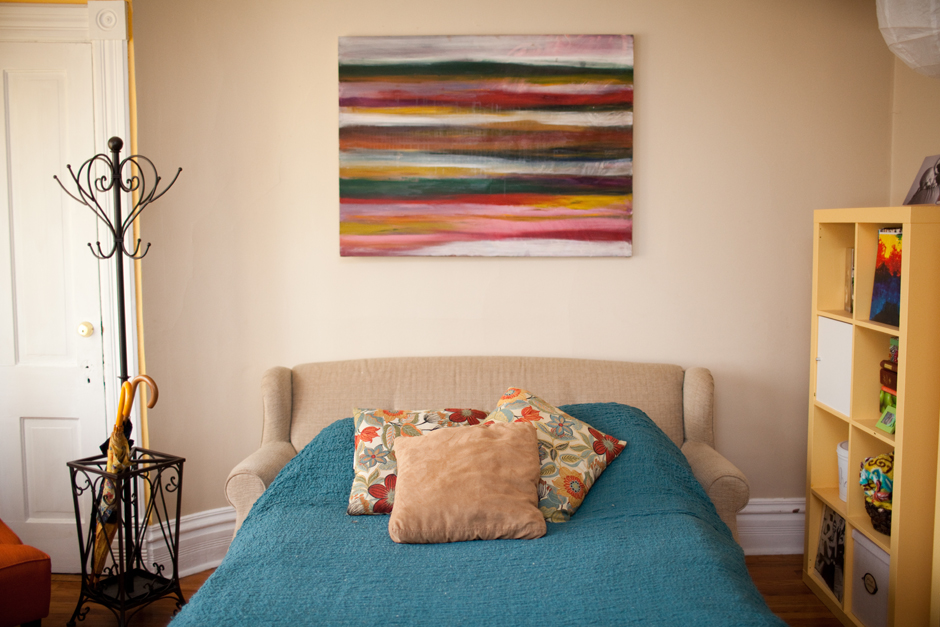
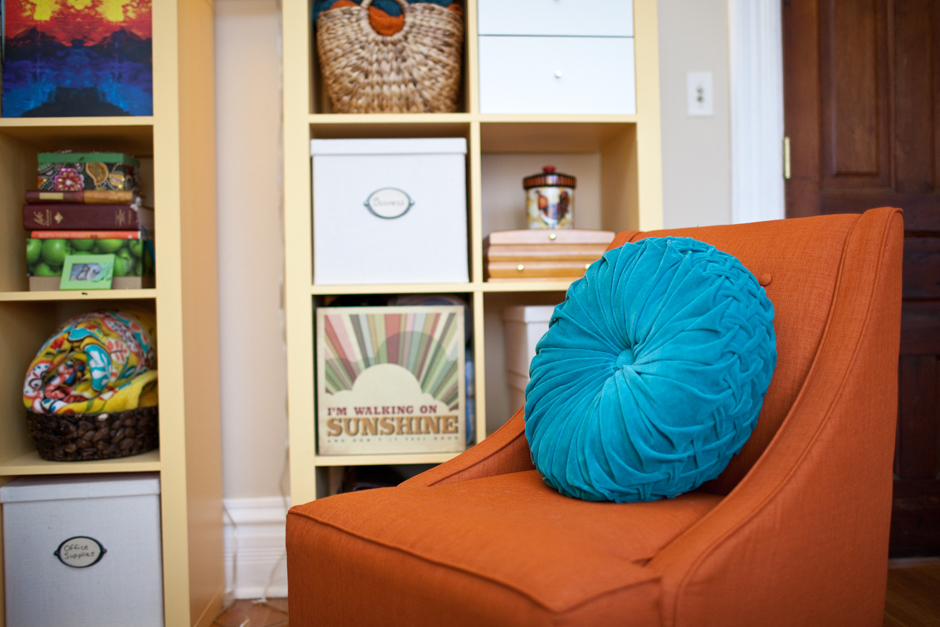
Finally, I added my canvas prints to showcase some of my favorite work in my favorite space 🙂
This space is functional.
The set up featured below is what my space looks like when I have client meetings and certain photo shoots. It has four purposes total and three functional set ups.
PURPOSE
- Office (included in all arrangements, desk remains set up in the corner)
- Meeting Room
- Photoshoot
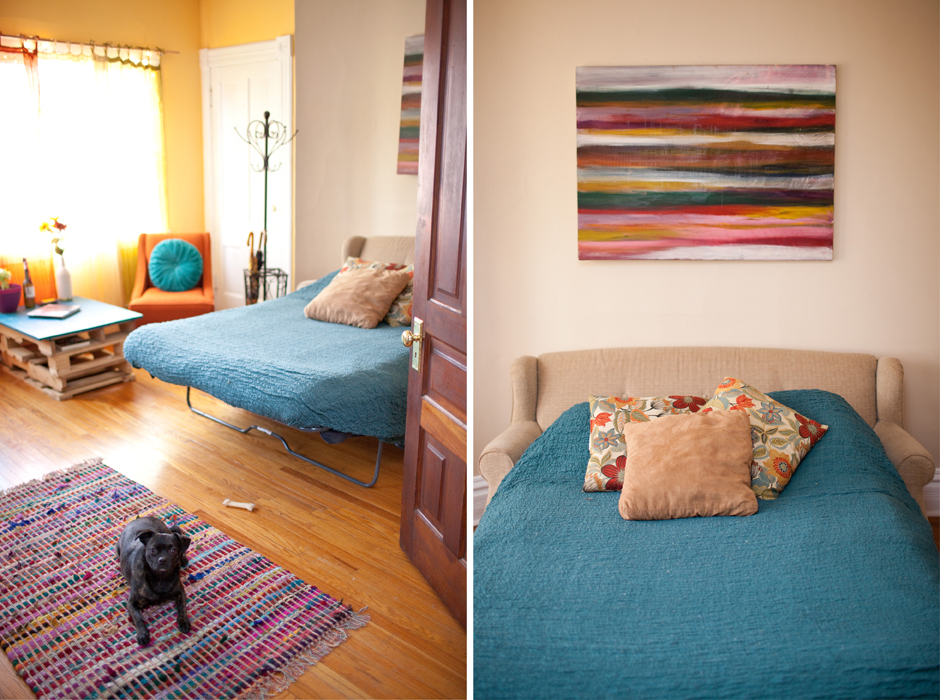
- Bedroom
SET UPS below… and Sam modeled a little bit, he has to be involved in everything 🙂
Meeting Room and Portrait Session Set Up


Newborn and Boudoir Session Set Up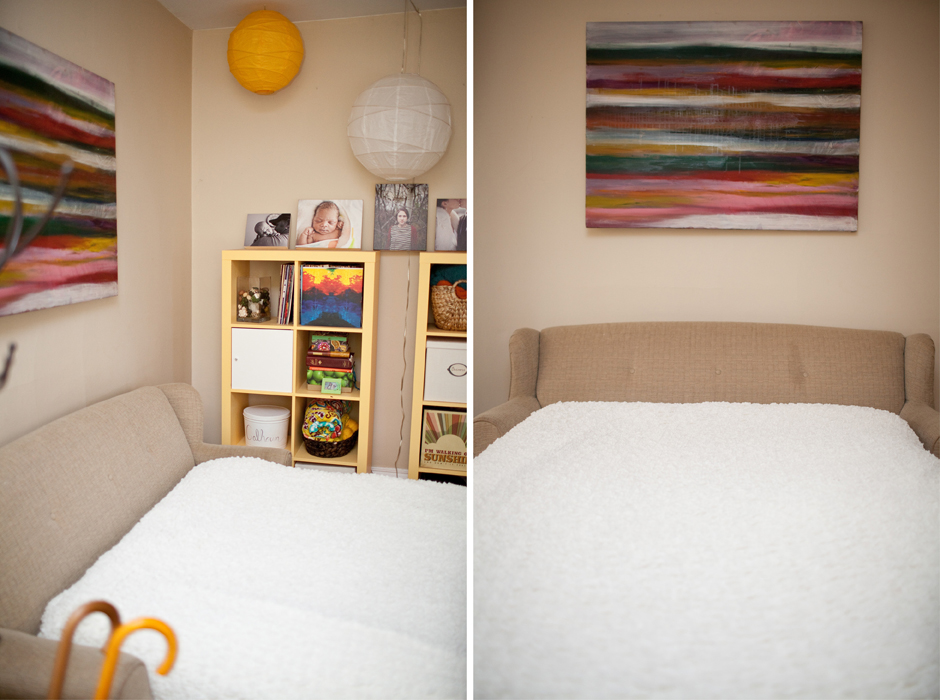


Bedroom Arrangement 😉