A Morning in Madison

One late evening post

I simply can’t resist posting these for two reasons:  one, the family will like to see them; two, I want you to see them 😉  Josh and I shot a wedding on Friday evening near the heart of Madison so instead of driving all the way home we jutted over to my sister-in-laws gorgeous home at the Cottage Grove edge of Madison to spend the night.  We woke up the next day to our pretty, sweet niece, Lauren, and my spunky mom-in-law, Lannette.

My morning was joyous with Josh and Mom playing piano together, the three of us girls dancing to Taylor Swifts Red album, and a lunch of Chipotle left overs.  Before long I was headed north to see Elton John’s Broadway Musical Aida in Minneapolis with my mom 🙂

piano and LaurenIMG_9453

Sabon

Fact:  Sabon smells lovely, makes you smell lovely, and is my new favorite all natural way to smell lovely and get clean.

A new Sabon shop opened in the Woodfield Mall late this summer.  Laura and I discovered it while moseying around and fell in love with the boutique’s unique interior design and the products.  Now, thanks to my hubby, I own some of the product. For Christmas Josh got me some Gentleman Body Scrub and Eye Cream.  Now, I know what you’re thinking, “Gentleman” for a girl?  Well, the scent is also described as Patchouli Citrus and I’ve never been a flowers and perfume kind of girl so it’s really quite fitting. What’s so great about the scrub is that everything is all natural, they let you sample stuff in their pretty store, and since the scrub uses oils I smell lovely all day.  It is all completely SLS and Paraben free.  It is made with deep sea salt coated in almond oil, jojoba oils and oils sourced from the Brazillian rainforest then enriched with Omega 3, 6, 9 and Vitamin E.  I’ve been using it twice a week and it certainly gets all the yucky dry winter skin off and leaves my skin happier with the healthy layer of oils left behind. The Eye Cream is a blend of Asian White Tea extract with avocado oil, seaweed and aloe vera. It is a light, cooling cream, rich in antioxidants.  The website boasts that it is “valuable in rebuilding the delicate tissue around the eye area, while reducing puffiness and dark circles.”  Although I know there are times of optimism in thinking such things, I’m fairly certain this product actually does that.  I’ve been using the Eye Cream the recommended twice daily and as a result I haven’t needed to wear any of my coverup, the one bit of makeup I wear, and that is a wonderful thing!  This is particularly sweet because it is the very reason Josh got me the eye cream.  Apparently, over the years, he’s observed that I’ve mentioned the perpetual dark circles under my eye several times so he took it upon himself to help me out in a very natural and healthy way.  Healthier than coverup I dare say.  I also have a theory that, since the aloe vera hydrates the skin, that the wrinkles at the corners of my eyes are less noticeable.  Yes, I already have wrinkles and I am proud of them because they are the same exact wrinkles I see on my dad, smile wrinkles. 5Friday

Seeking Joy

A lesson in life

It seems as though we are never where we ought to be.

We are not in our desired location. We live in an apartment instead of a home.  We are working a job we had far from dreamed up for ourselves.  We live far from family.  We don’t own nice enough things.  We had kids too soon.  We find we can’t have children.  We live in an old house.  We live in a stressful, busy area.  We live in the middle of nowhere.  We are not with the man of our dreams.  We can’t afford the things we want.  We are rich but without love.  We don’t have loyal friends.  We are lonely.  We are too young.  We are too old.  We are too sick.  We are too tired.  We are busy.  We are bored.

It seems we always have too much or too little.

This life lesson is not my own.  It is one being taught all around the world at different times.  The message is this:  seek joy.

A few months ago I was hit with a revelation.  For a few months Josh and I spent a lot of time praying about the next place and the next thing.  We were praying for a home where we could be more at peace, have a garden, have a safe place for the dogs to run, and have a studio for me and maybe even some chickens.  I have a BIG desire to work towards self-sustainable living while growing and working out in nature.  To me this looks like living in farm country with a little house and a lot of land that is conveniently not too far out that I can’t have clients do shoots at the house.

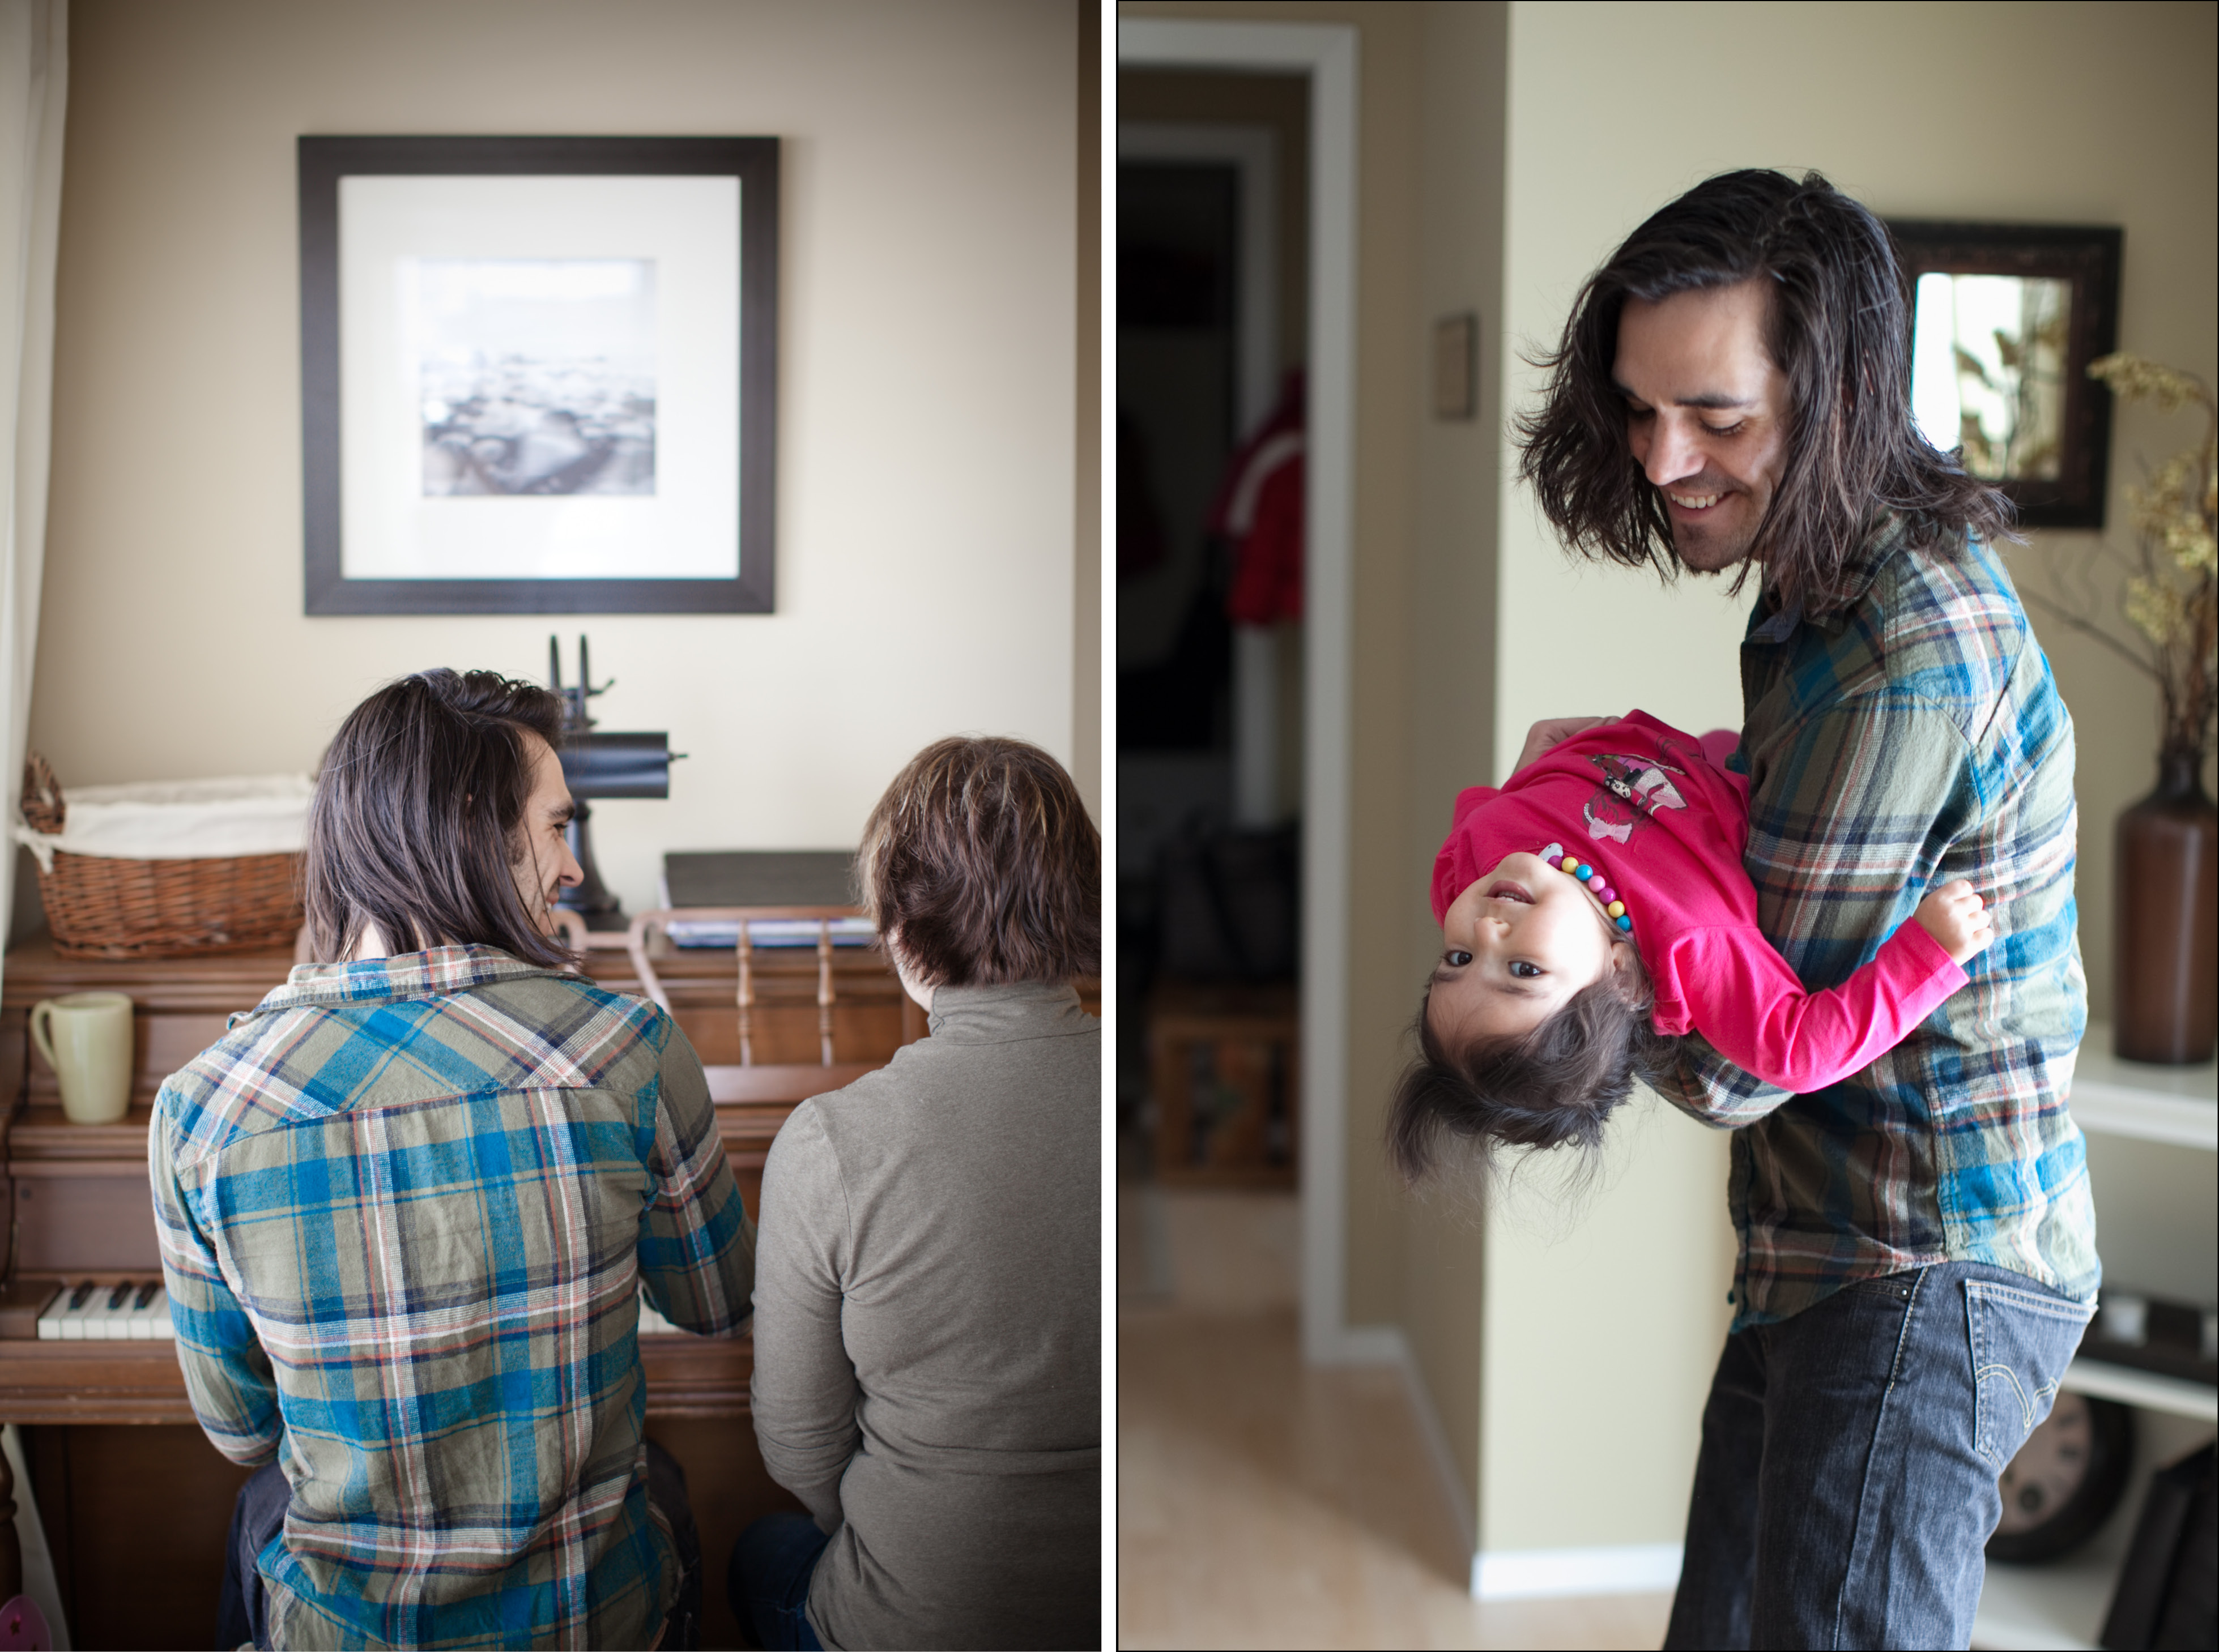
Finally, God answered my prayers and, as always, not in the way I expected.  Josh was gone in Nashville and the first or second day into fending for myself I found myself praying in the middle of the living room when God slapped me upside the face with a vision for our home.  His answer was to stay.  Not particularly what I was looking for but suddenly he showed me how to transform our space into a home and into something we can begin the fulfilling of our dreams.

I had also started fervently praying about my dreams to write and do photojournalism.  I fell in love with both in high school and since then my dream has been to work for magazines like National Geographic.  The dream has since evolved from working as an employee to the company to working freelance for them as a photographer and writing children’s books when I’m off and home.  This dream He suddenly spoke words of hope and direction into.

Three months later I hear a message at Poplar Creek Church, where Josh leads worship on occasion, about seeking joy.  It was the last message of the advent season and it kind of drove this last phase of personal transformation home for me.  This fall to winter season has given me life.  My dreams have taken flight again and I’m living in a home I adore in addition to being adored by my family and making a living doing something I enjoy.

And I had also spent the past three years complaining about where I lived and what life circumstances I found myself in.  It was not my plan to get married.  I thought I would dive deep into National Geographic and maybe meet someone in some exotic land and fall in love and do photography together or something.  It also was not my plan to stay in Illinois.  Unfortunately this is my area of biggest complaint and I’m ashamed to say I spent too much time looking forward to getting out of this busy place rather than using all I had to make the best of it.  Because, fact is, when God plants you somewhere he has a lesson for you to learn and he wants you to learn to thrive wherever he places you.  And so now I have finally learned to thrive in this home and in this place that God has planted us.

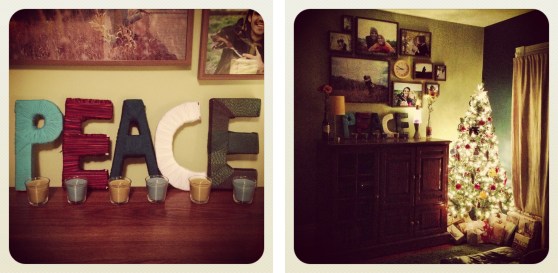
I have finished transforming our home so I now have a studio that I hold meetings with clients and sessions, Josh has a music studio space, we have been given permission by our landlord to break ground for a garden in the spring, and I will soon be asking about chickens 😉  The solution to the dog’s safe running space is taking a trip to the back of the neighborhood where there is a park for them to run safe and free to their heart’s content.

I have also begun pursuing my dreams again.  In 2013 I am working towards National Geographic by going on one of their expeditions to rebuild my portfolio in order to present a coffee table book to them of my work to win their hearts and an internship with them.  From there the dream is freelance.  As for my book, I started a book called Antler Elf last winter and for 2013 I will finish it, find the illustrator of my dreams, and try my heart out for a publisher.

These are the ways I set out to seek joy where I am and I have found it abundantly.

It’s not the thing bringing us joy, it’s God.  So, rather than seeking joy for ourselves in the things we think we most enjoy we should seek it in the path God has before us.

If you want to seek joy in your life bring your heart to God.  All you have to do is open yourself up to Him and ask where he is leading you and what he has planned for you.  When you align your heart with His it is there you will find abounding joy.  And I speak from experience.

12 Days of Handmade and Homemade Christmas: a Summary

So I have finally finished my 12 Days of Christmas.  Granted, I finished well before Christmas but I am finally getting the last post up.  This post is a summary of the 12 days of Christmas and I have included days 11 and 12 here as well!

Lets go 12 -1 just for fun – if you say it out loud I made a rhyme 😉

Days 10 – 1 contain links to the posts if you want to see all the pictures and/or the instructions to do the project yourself.

Day 12:  Christmas Cookies

The plan was for two Christmas parties to go down so I made a load of Christmas cookies, particularly the fun cookie-cutter sugar cookie type, and then one was moved until the new year and the other I spent with two lovely friends instead of five.

I spend several hours in the kitchen with my friend Laura making up some sugar cookies.  This recipe was specifically chosen because she made me some of these delightful cookies for me as a birthday gift back in September.  Normally I am not a fan of sugar cookies because they are hard and not very flavorful but these are a different story.  There is also a method to the madness to guarantee moist, fluffy, soft, and flavorful cookies.  Tips below…

Anyway, the cookies were delightful.

3Wednesday-IMG_0690

Supplies needed:

Cookies

  • 1 1/2 cups butter, softened
  • 2 cups white sugar
  • 4 eggs
  • 1 teaspoon vanilla extract
  • 5 cups all-purpose flour
  • 2 teaspoons baking powder
  • 1 teaspoon salt

Icing

This icing dries hard and shiny.

  • 1 cup confectioners’ sugar
  • 2 tsp milk
  • 2 tsp light corn syrup (We used sugar and water.  Heat sugar and water over the stove.  You are shooting for a syrup consistency with the ratio and there’s no better way to explain it really.)
  • 1/4 tsp almond extract
  • assorted food coloring (we used food dyes, better for you)

Your steps:

  1. Make the cookie dough:  cream butter and sugar together with a mixer until smooth and creamy looking, mix in eggs and vanilla, add flour and sprinkle the baking powder and salt across the flour then mix it all in together
  2. Chill dough in covered bowl in fridge for 15 – 30 minutes (TIP:  chilling makes it easier to roll and work with)
  3. Roll out dough on a floured surface to about 1/4″ thick and cut shapes as desired (TIP:  this is the first step to successfully making a desirably moist sugar cookie so when in doubt always go thicker rather than thinner when rolling)
  4. Bake for 4 – 6 minutes at 400 degrees until the very bottom edge of the cookies are lightly golden brown (TIP:  this is how you achieve a moist cookie and though it doesn’t look like it they are thoroughly cooked)
  5. Let cool
  6. Mix the icing ingredients together in a small bowl and mix with a fork (TIP:  while mixing you should pretend you are beating eggs, you want to get all the clumps out, and when you’ve achieved the right consistency it should move like honey – simply add water until the consistency is reached)
  7. Add dye (TIP:  making more than one dye at a time and adding dye to the colors as you go makes it more fun)
  8. Ice your cookies

Day 11:  wine bottles make vases

My husband, a few months back, started using out consumed wine bottles around the house as vases for our fake flowers.  Then I purchased some candlesticks and found I was in need of a few more wine bottles.  And finally, the last piece in the conception of this project, my friend Megan told me about a wine bottle project she was doing.

Megan brought a couple of wine bottles to my house and some fluffy off-white yarn and some standard brown, twine colored yarn.

Now, the project itself was not Christmas-like but the idea was to add the candles to the home so because of this project I was able to utilize some plain wine bottles for burning my table candles. When I finished the yarn bottles I stuck the candle in a green wine bottle and burned my fun candlestick down until red was showing and, vuala, I had a Christmas decoration – green bottle and red wax… get it? 😉

yarn bottlesNote:  Later I did add flowers to the yarn bottles 😉  I just didn’t get a picture of them like that.

Supplies needed:

  • empty wine bottles
  • yarn
  • hot glue

Your steps:

  1. plug the hot glue gun in and have sticks at the ready
  2. wrap the yarn tightly around itself once just under the lip of the bottle and it should remain secure without hot glue
  3. wrap down the neck
  4. for the shoulders dab glue around the circumference in variation as you wrap to keep the yarn in place (TIP:  be sure to go around the bottle otherwise it will start buckling on one side and only use a teeny dot because it won’t show that way)
  5. after the shoulders feel free to sprint down the body simply wrapping
  6. when you reach the point you want to stop trim your yarn, dab the end with hot glue, and adhere it to the bottle (TIP:  tuck it under the last row of yarn for a better hide)

Day 10:  client Christmas cards

0360

Day 9:  Christmas Book

IMG_9424

IMG_9430

Day 8:  Christmas cards

prescott_card02FRT

Day 7:  Sharpie mugs

mugs

Day 6:  Snowflakes that won’t melt!

Snowflakes

Day 5:  Christmas ornament Christmas wreath

Ornament Wreath

Day 4:  PEACE yarn letters

PEACE letters

Day 3:  Crayon ornaments

IMG_0599

IMG_0598

Day 2:  Pinecone ornaments

IMG_0584

Day 1:  origami star Christmas tree garland

IMG_0581

Merry merry Christmas!!!! 🙂

12 Days of Handmade and Homemade Christmas: Day 10

My 10th day of Christmas is finally finished!  This project took crazy long as well.  As, I suppose, should be expected when one commits to handmaking 50 Christmas cards.

These cards were specifically designed for my clients.  I am sending them to my 2012 clients and any client that has already signed a 2013 contract with me.

The idea started on Pinterest and I let my creative juices flow from there.  I was actually looking for Christmas wreath ideas when I saw this card and it occured to me that if I were to get a Christmas card from my photographer I would LOVE it 🙂   And so the project began.

What I liked about this project was the evolution of the ideas and design.  I dove in head first and tweaked the design as I went to spice up the routine a little bit.  As a result I came up for several variations of a similar card as you see below.  It was also super fun playing with a Cricut and I liked the potential that it might spur on some sessions from present clients because I simply LOVE working with them 🙂

0024

0017

0008

0005

0001


0360


0061

0085


0041


Supplies needed:

  • cards (color of your choice, I got mine at Hobby Lobby for 50% off and they had lots of plain cardstock options)
  • scrapbook paper (Hobby Lobby individual scrapbook paper selections, $.59/ea I think, and if I were to do it again I would choose simpler, more solid color patterns)
  • burlap ribbon (Amazon)
  • buttons (Hobby Lobby for a couple bucks)
  • stamps if you choose to incorporate those
  • sharpie markers
  • printer paper (if you are printing your message)

Your steps:
Tip:  I did everything in masses so the workflow was quickest so do each step to every card first then move to the next step. The exception to the rule is for steps 8 and 9, I focused on one card until it was finished.

  1. Apply any stamps
  2. Cut your ribbon segments
  3. Apply hot glue to the four corners of your ribbon and paste on your card
  4. Cut all your letters (I borrowed a Cricut from a friend for speedy working)
  5. Hot glue all the letters in place
  6. Hot glue your message into the card OR write your message
  7. Cut your paper leaves and snowflakes
  8. Hot glue paper leaves and snowflakes
  9. Hot glue buttons
  10. Stamp envelopes
  11. Address and apply postage stamps to envelopes
  12. Stuff cards into envelopes
  13. Seal envelopes