Yellow is my favorite color. I like yellow so much that I like to incorporate yellow in everything if I can so naturally I was hoping, at some point, to add yellow to our Christmas tree. I searched high and low for desirable yellow ornaments or garlands and it seems it is an undesirable color in the land of Christmas decor. So I resolved to making one and with a little luck I stumbled on a very “me” idea on Pinterest because it involved two of my favorite things. Two important things to know about me: one, I love things most when there is thought and a little personal touch put into them; two, I love to color and I specifically love to color with crayons.
This project involved designing Christmas ornaments with crayons and some finesse. With a little mess and some trial and error here is what we came up with 🙂


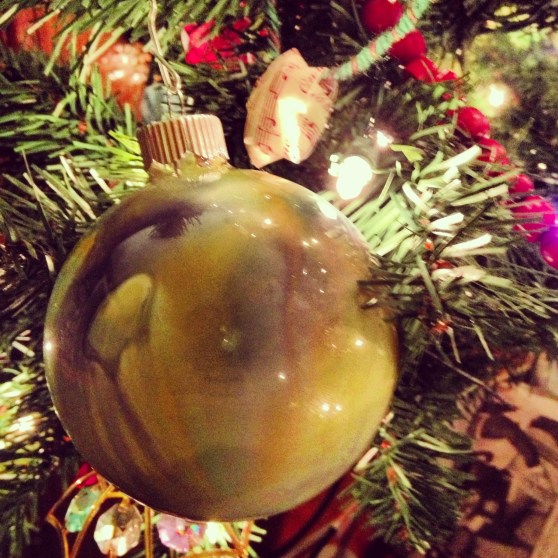
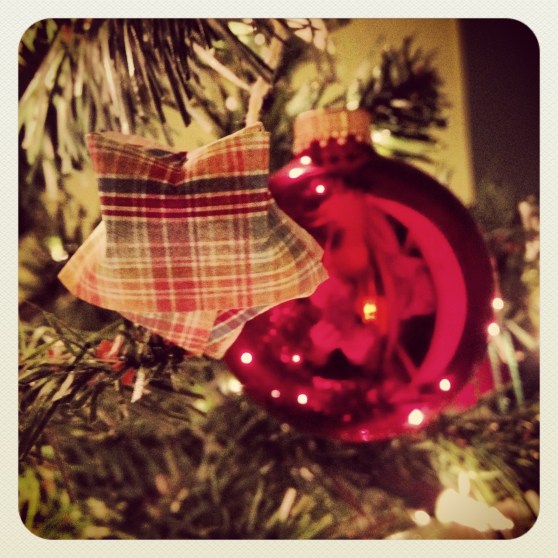
Josh #2

Kaia #1
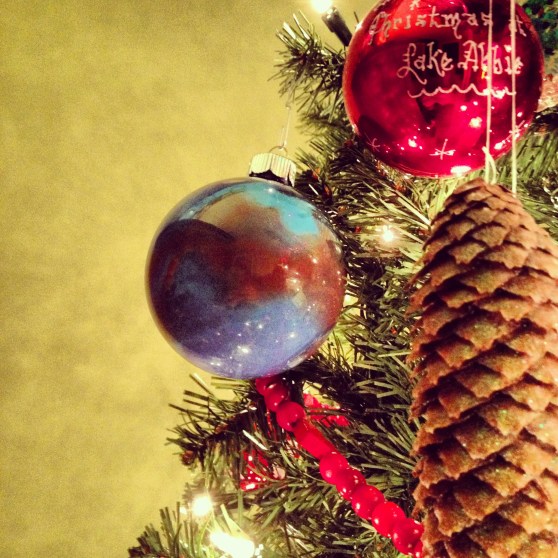
Kaia #2

Josh #1
Supplies needed:
- crayons
- blow dryer
- translucent glass bulb ornaments
- tongs
Your steps:
- remove hanging piece from ornament
- pop 1/4″ to 1/2″ crayon pieces of your choosing into the bulb
- grab hold of ornament with the tongs (the bulb will become scalding hot) and be sure to never point the opening down unless you have it over scrap paper or you want to make a mess
- apply heat via blow dryer until crayons start to become liquid then move around as you please for the desired look
- set finished bulb back in bulb tray face up to dry
- when dry, stick hanging piece back in ornament and hang on your Christmas tree
- repeat steps 1-7 until you have made all the Christmas ornaments your heart desires 🙂
Enjoy!